Linking your Oracle Recruiting account
How to link your Oracle Recruiting account to Wintro?
Prerequisites
Before getting started, please carefully read the following to make sure you fulfill all requirements for the integration to work:
To set up this integration, you must have the necessary permissions to access the “Security Console.” To find out how to access the “Security Console,” please follow the first steps under Permissions below.
If you don’t have access, please contact whoever has the necessary permissions in your company before continuing.
Overview
Estimated overall setup time: 30 minutes.
There are two steps you have to complete to set up the integration:
- You have to create a new user
- You have to assign the required roles to the user
That’s it! The rest of this document is a step-by-step walkthrough of everything you need to know and do to set up the integration.
Find you Oracle Recruiting Cloud Address
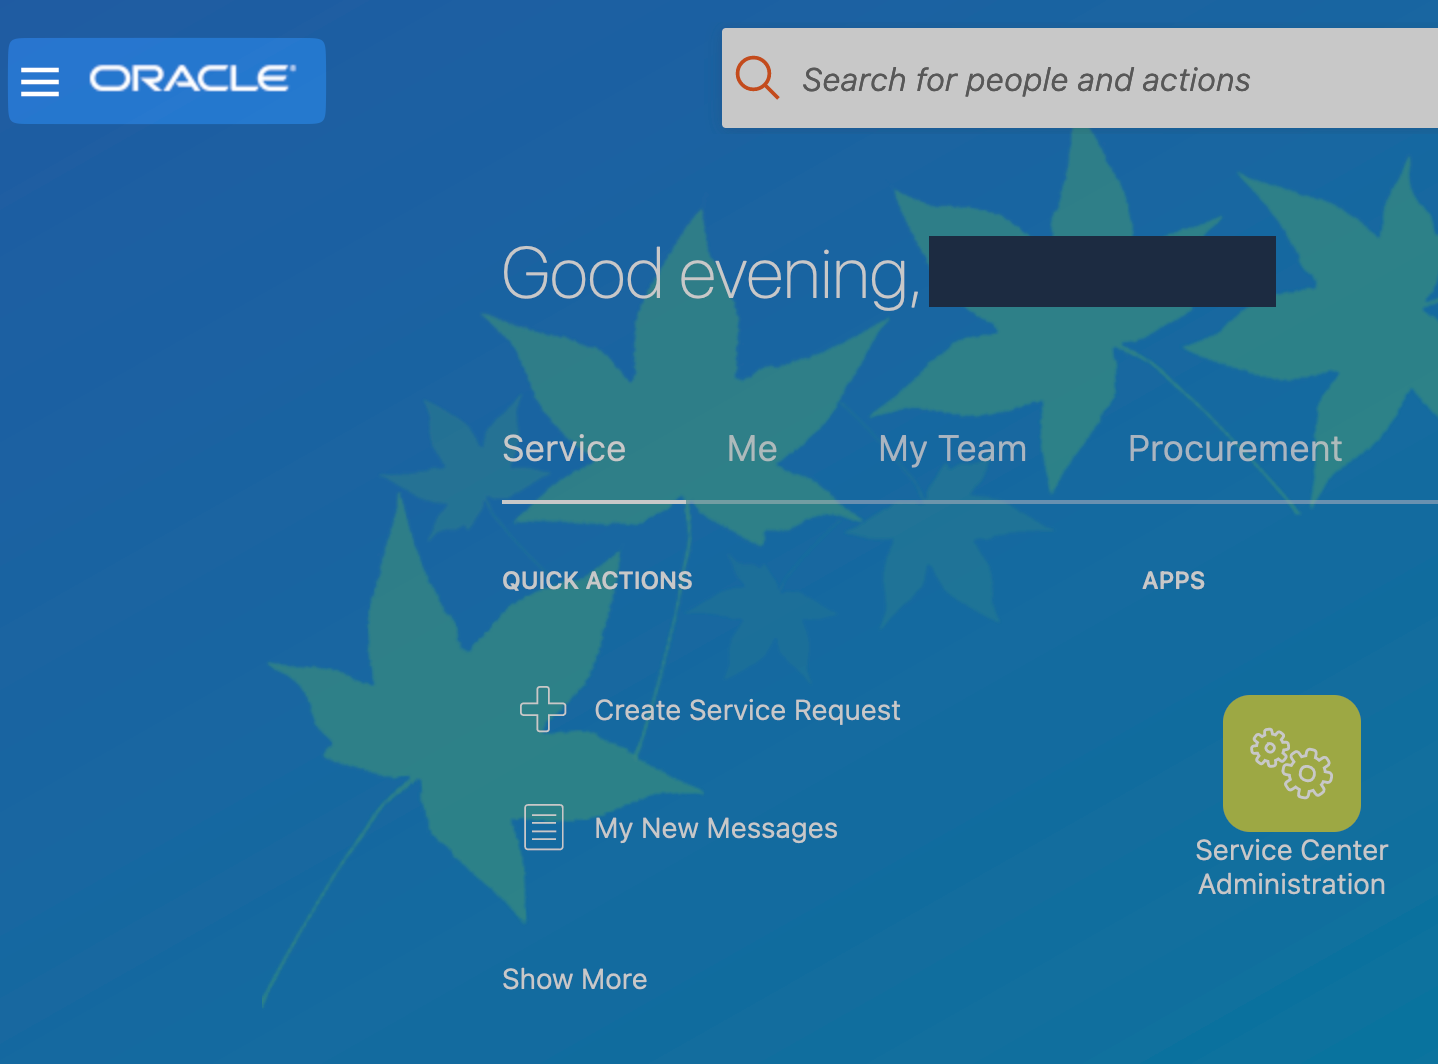
- Log into your Oracle Recruiting Cloud instance.
- Copy the value of the URL, everything from “https://” to the first ”/” and paste it into the connection flow.

Permissions
-
Click on the 3-bar menu in the top left of your Oracle Recruiting Cloud instance:
-
Next, scroll down to “Tools” open the menu, then go to “Security Console”:
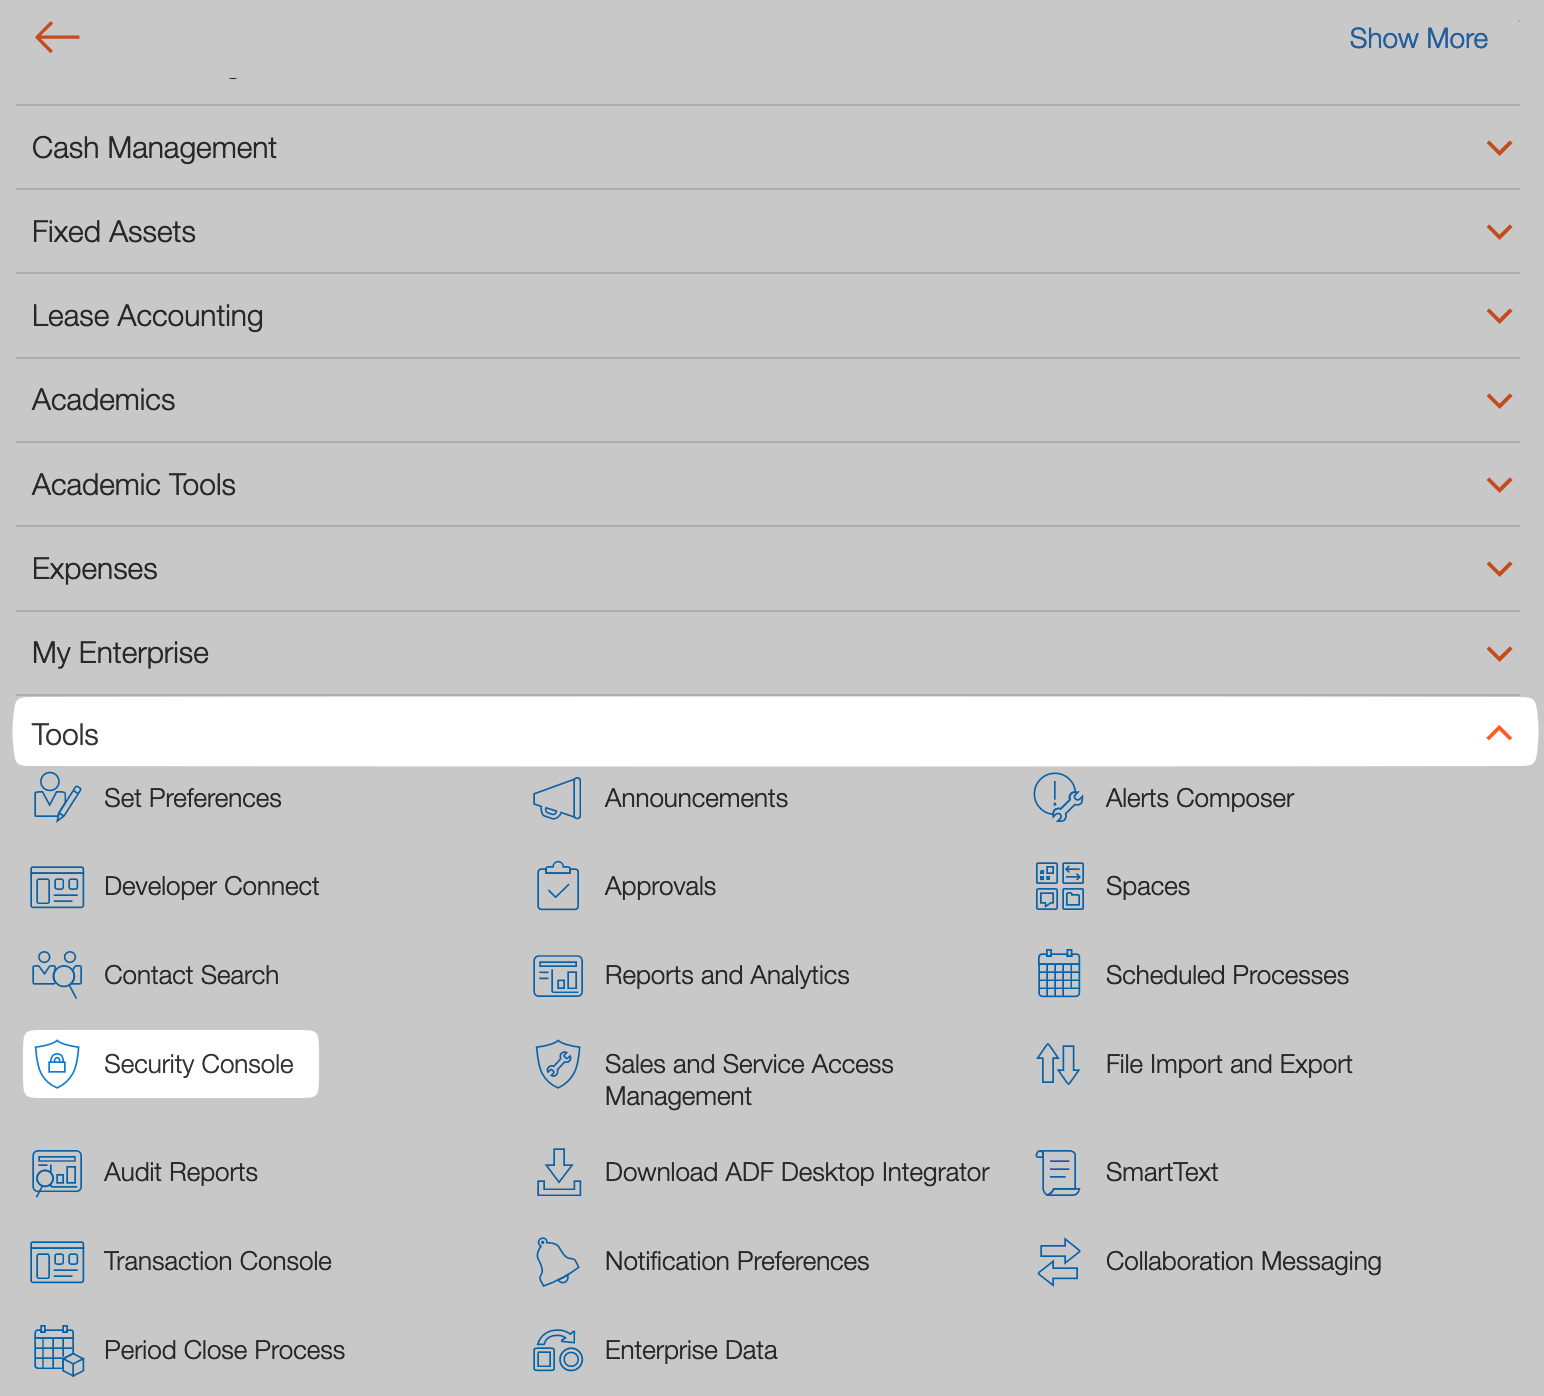
Note: If you don’t see the “Security Console” setting, you don’t have the right permissions to complete the connection. -
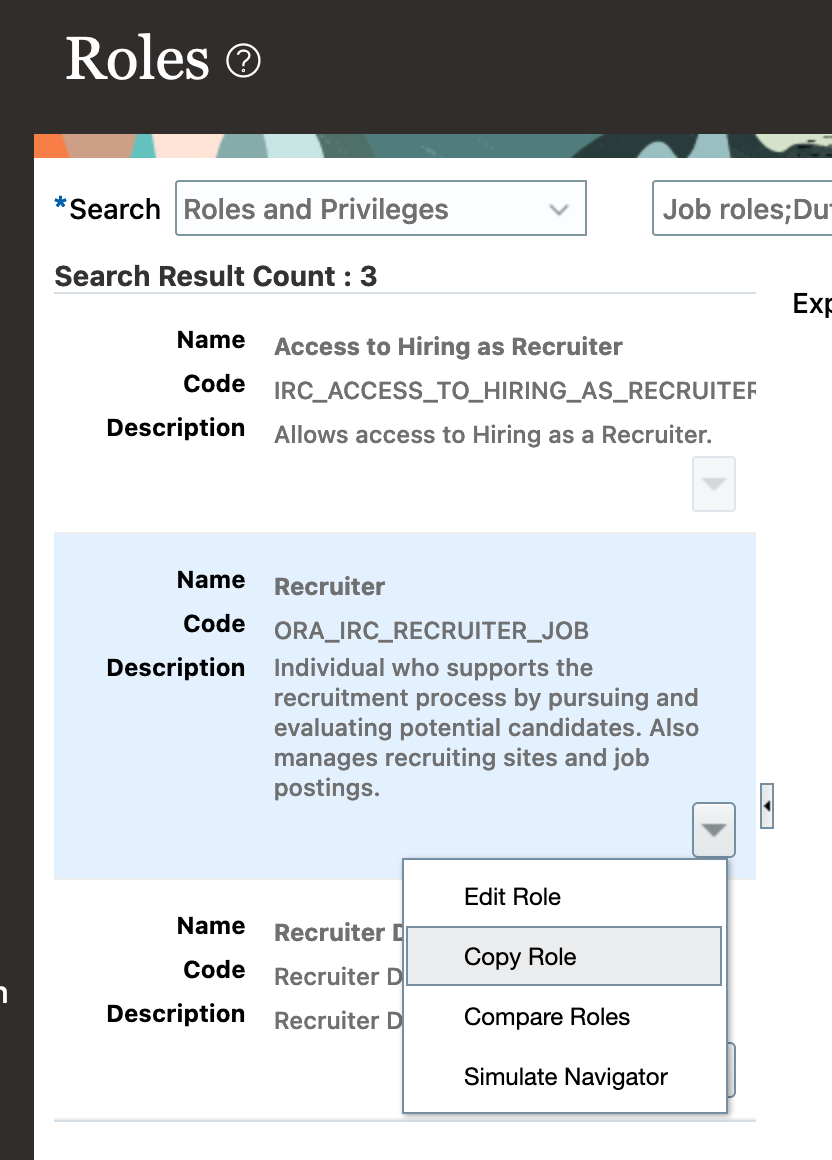
Search for the role “recruiter” in the search as pictured:

-
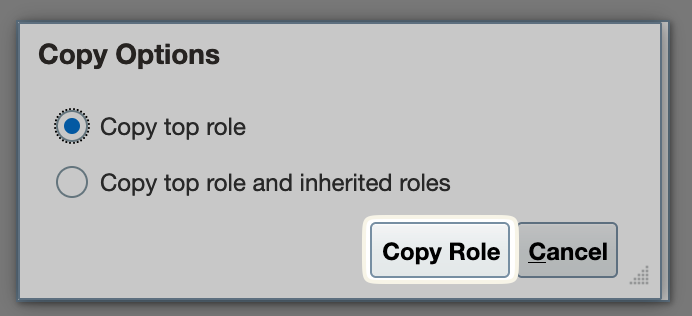
Next, under “ORA_IRC_RECRUITER_JOB”, click “Copy Role”:
When prompted, click on “Copy Role”:
-
Under “Role Name” and “Role Code”, fill in the following details:

Role Name: RecruiterGSEIntegration
Role Code: IRC_RECRUITER_JOB_GSE_INTEGRATION -
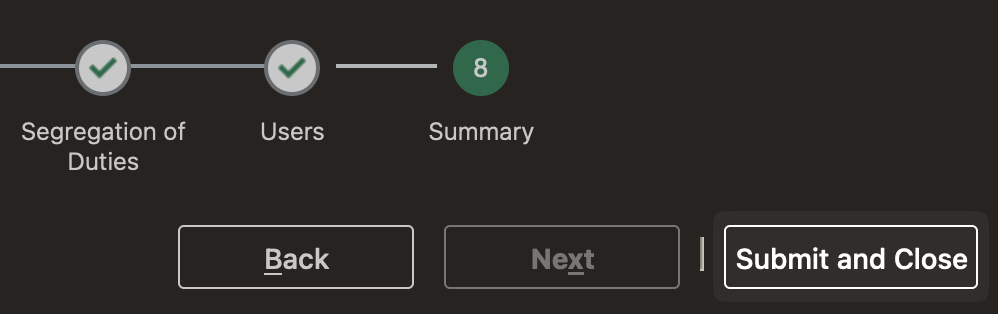
Simply click “Next” until the end, then “Submit and Close” as pictured:

-
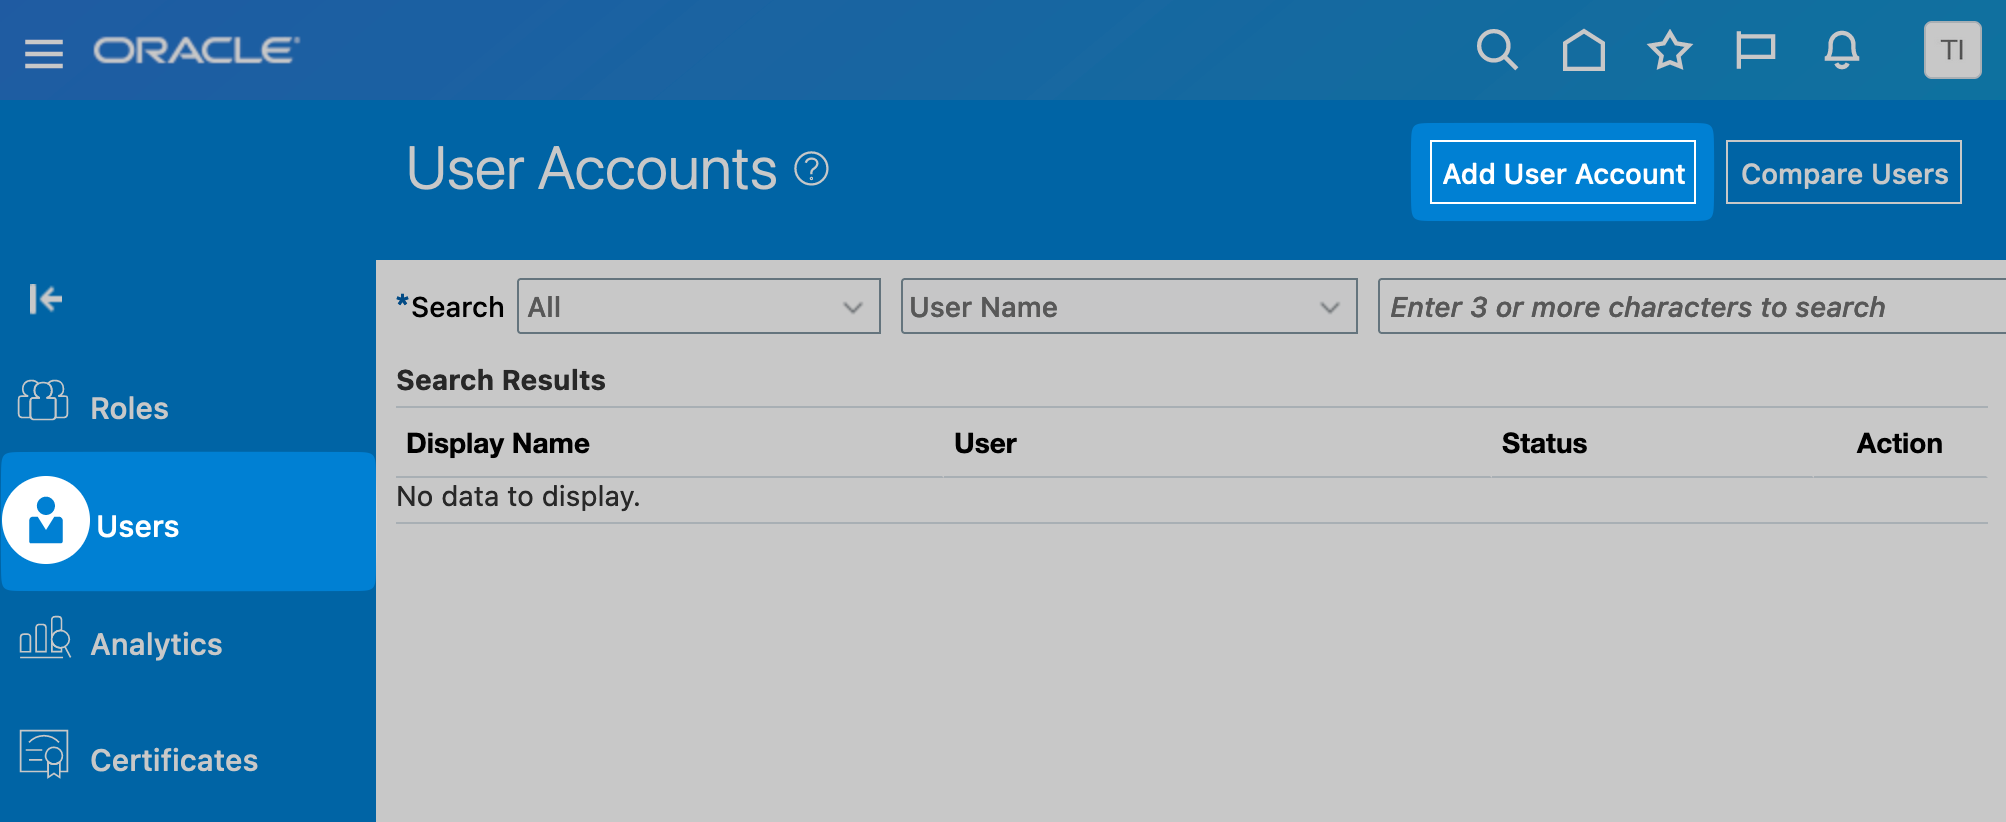
Next, go to “Users” then “Add User Account”
-
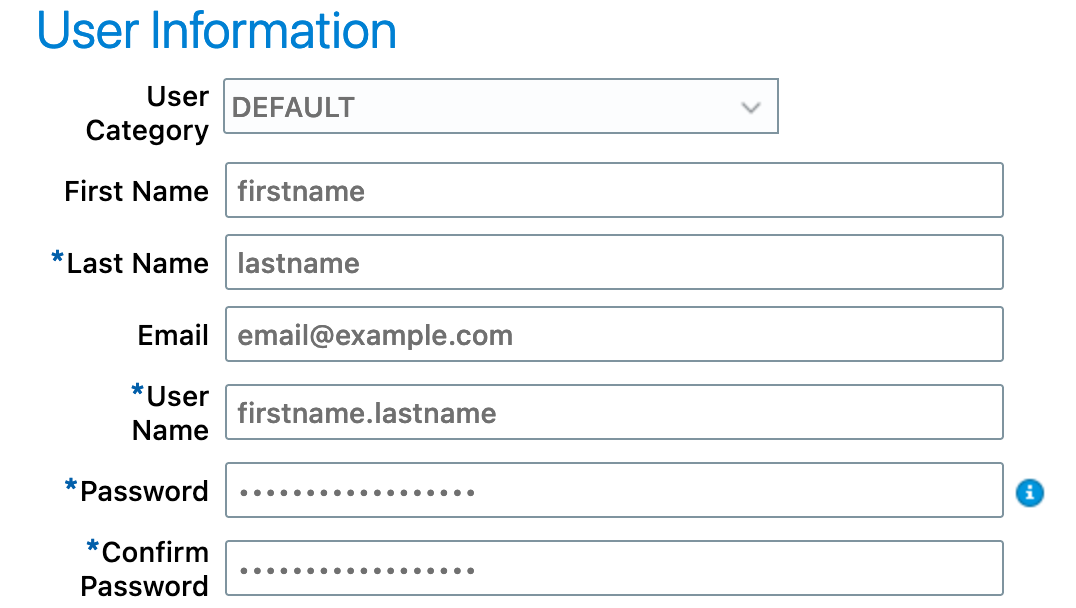
Fill in the necessary information, saving the “User Name” and “Password” for later:
-
Next, click on “Add Role”:
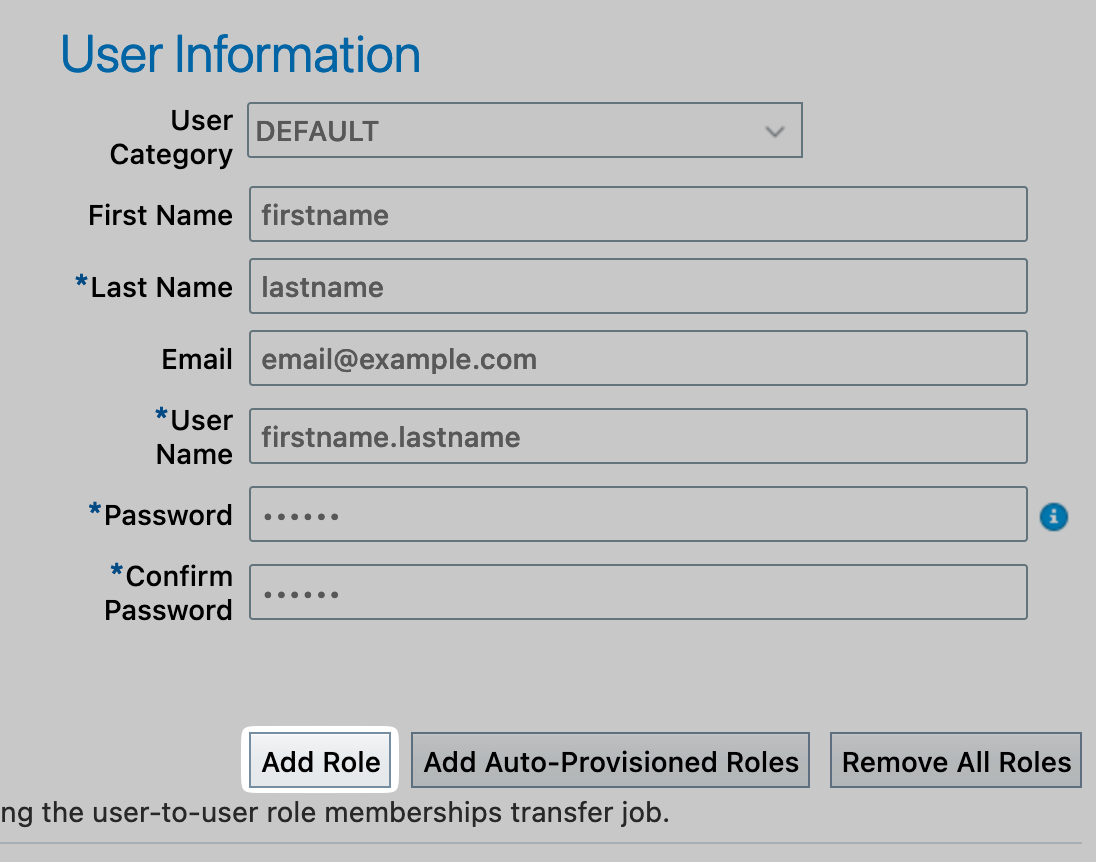
Note: Save the Username and Password, as you’ll need it later. -
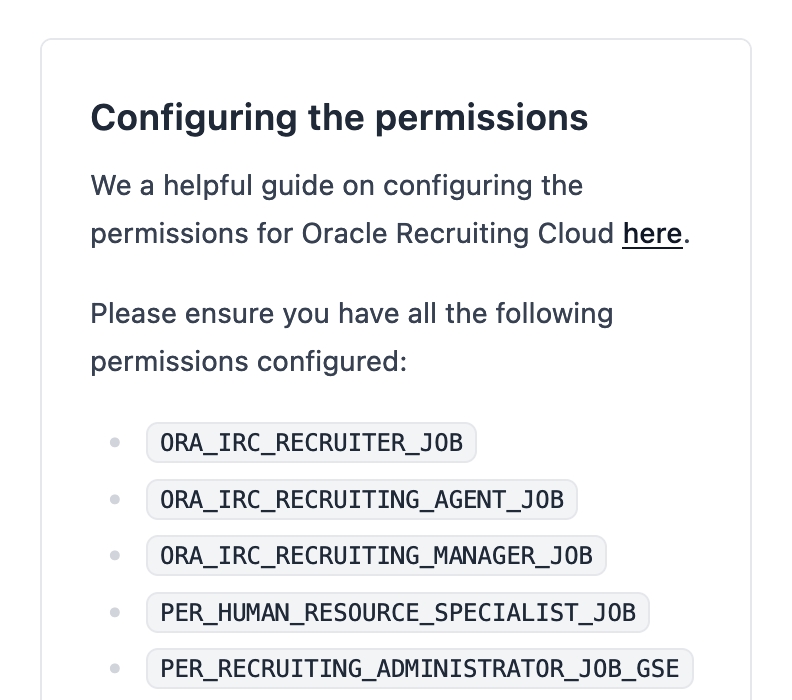
Next, for each required role, search for the role, select the role, and then add the role:
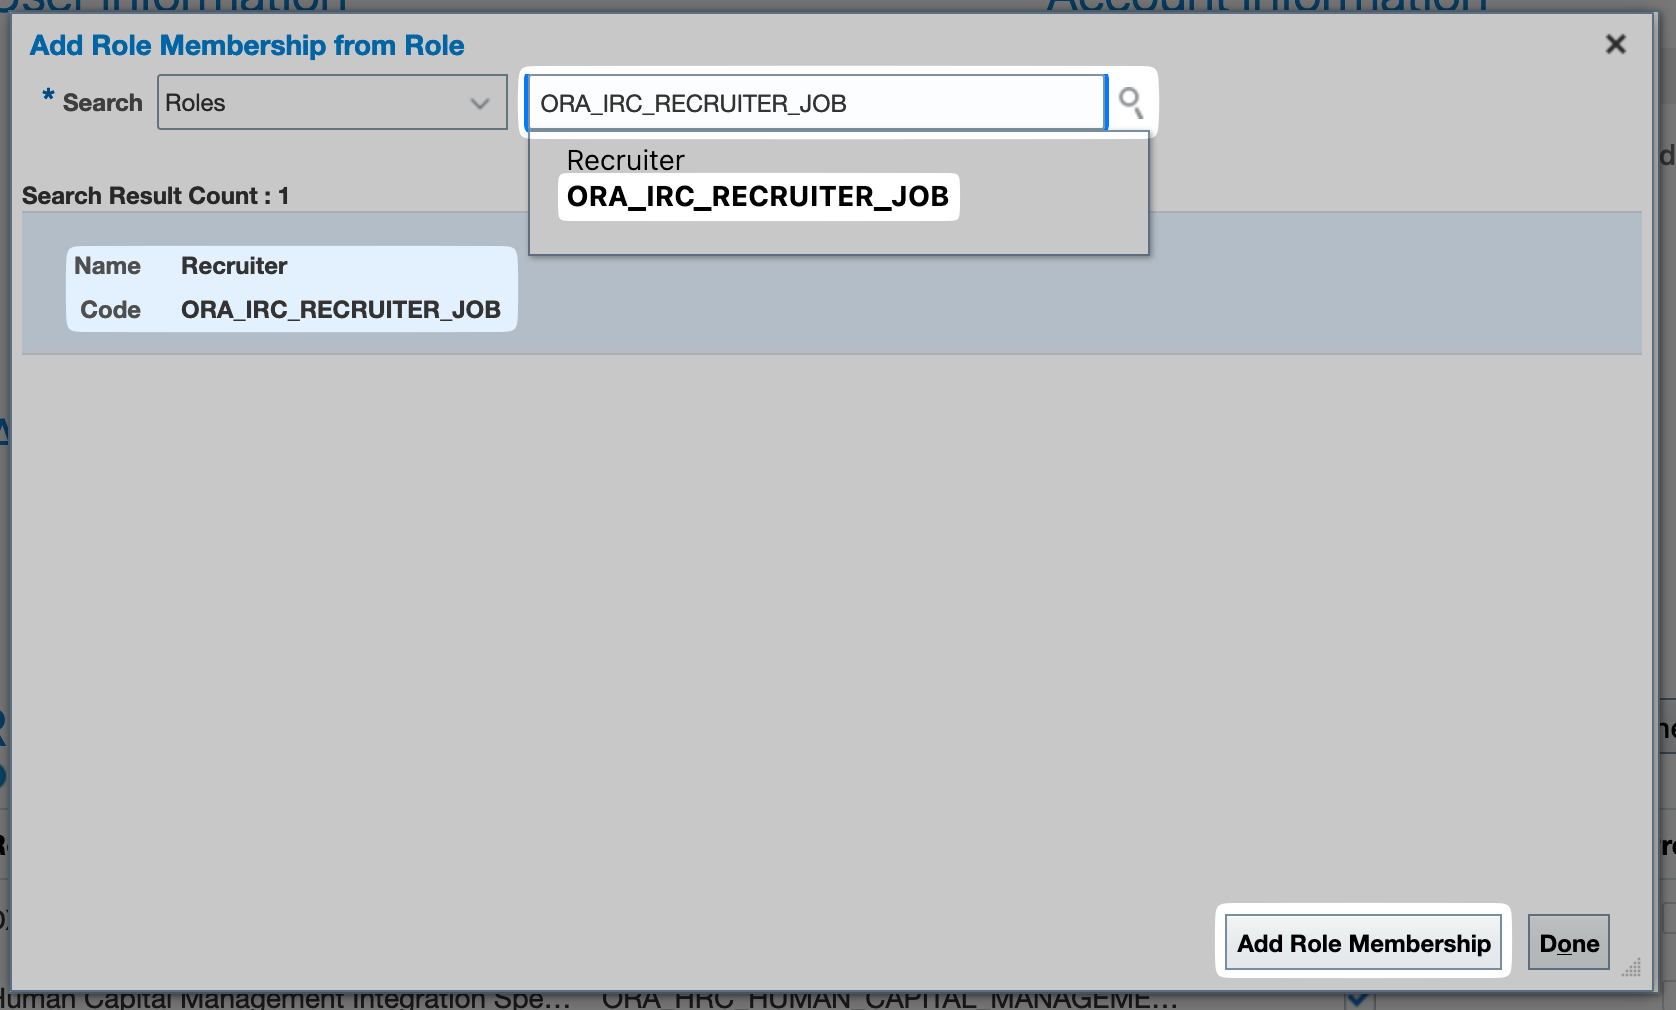 Select all the required roles, then add them to the user.
Note: This will look different in each case, please add the roles found in your connection flow:
-
Once you have added all the required roles to the user, press “Save and Close”.
-
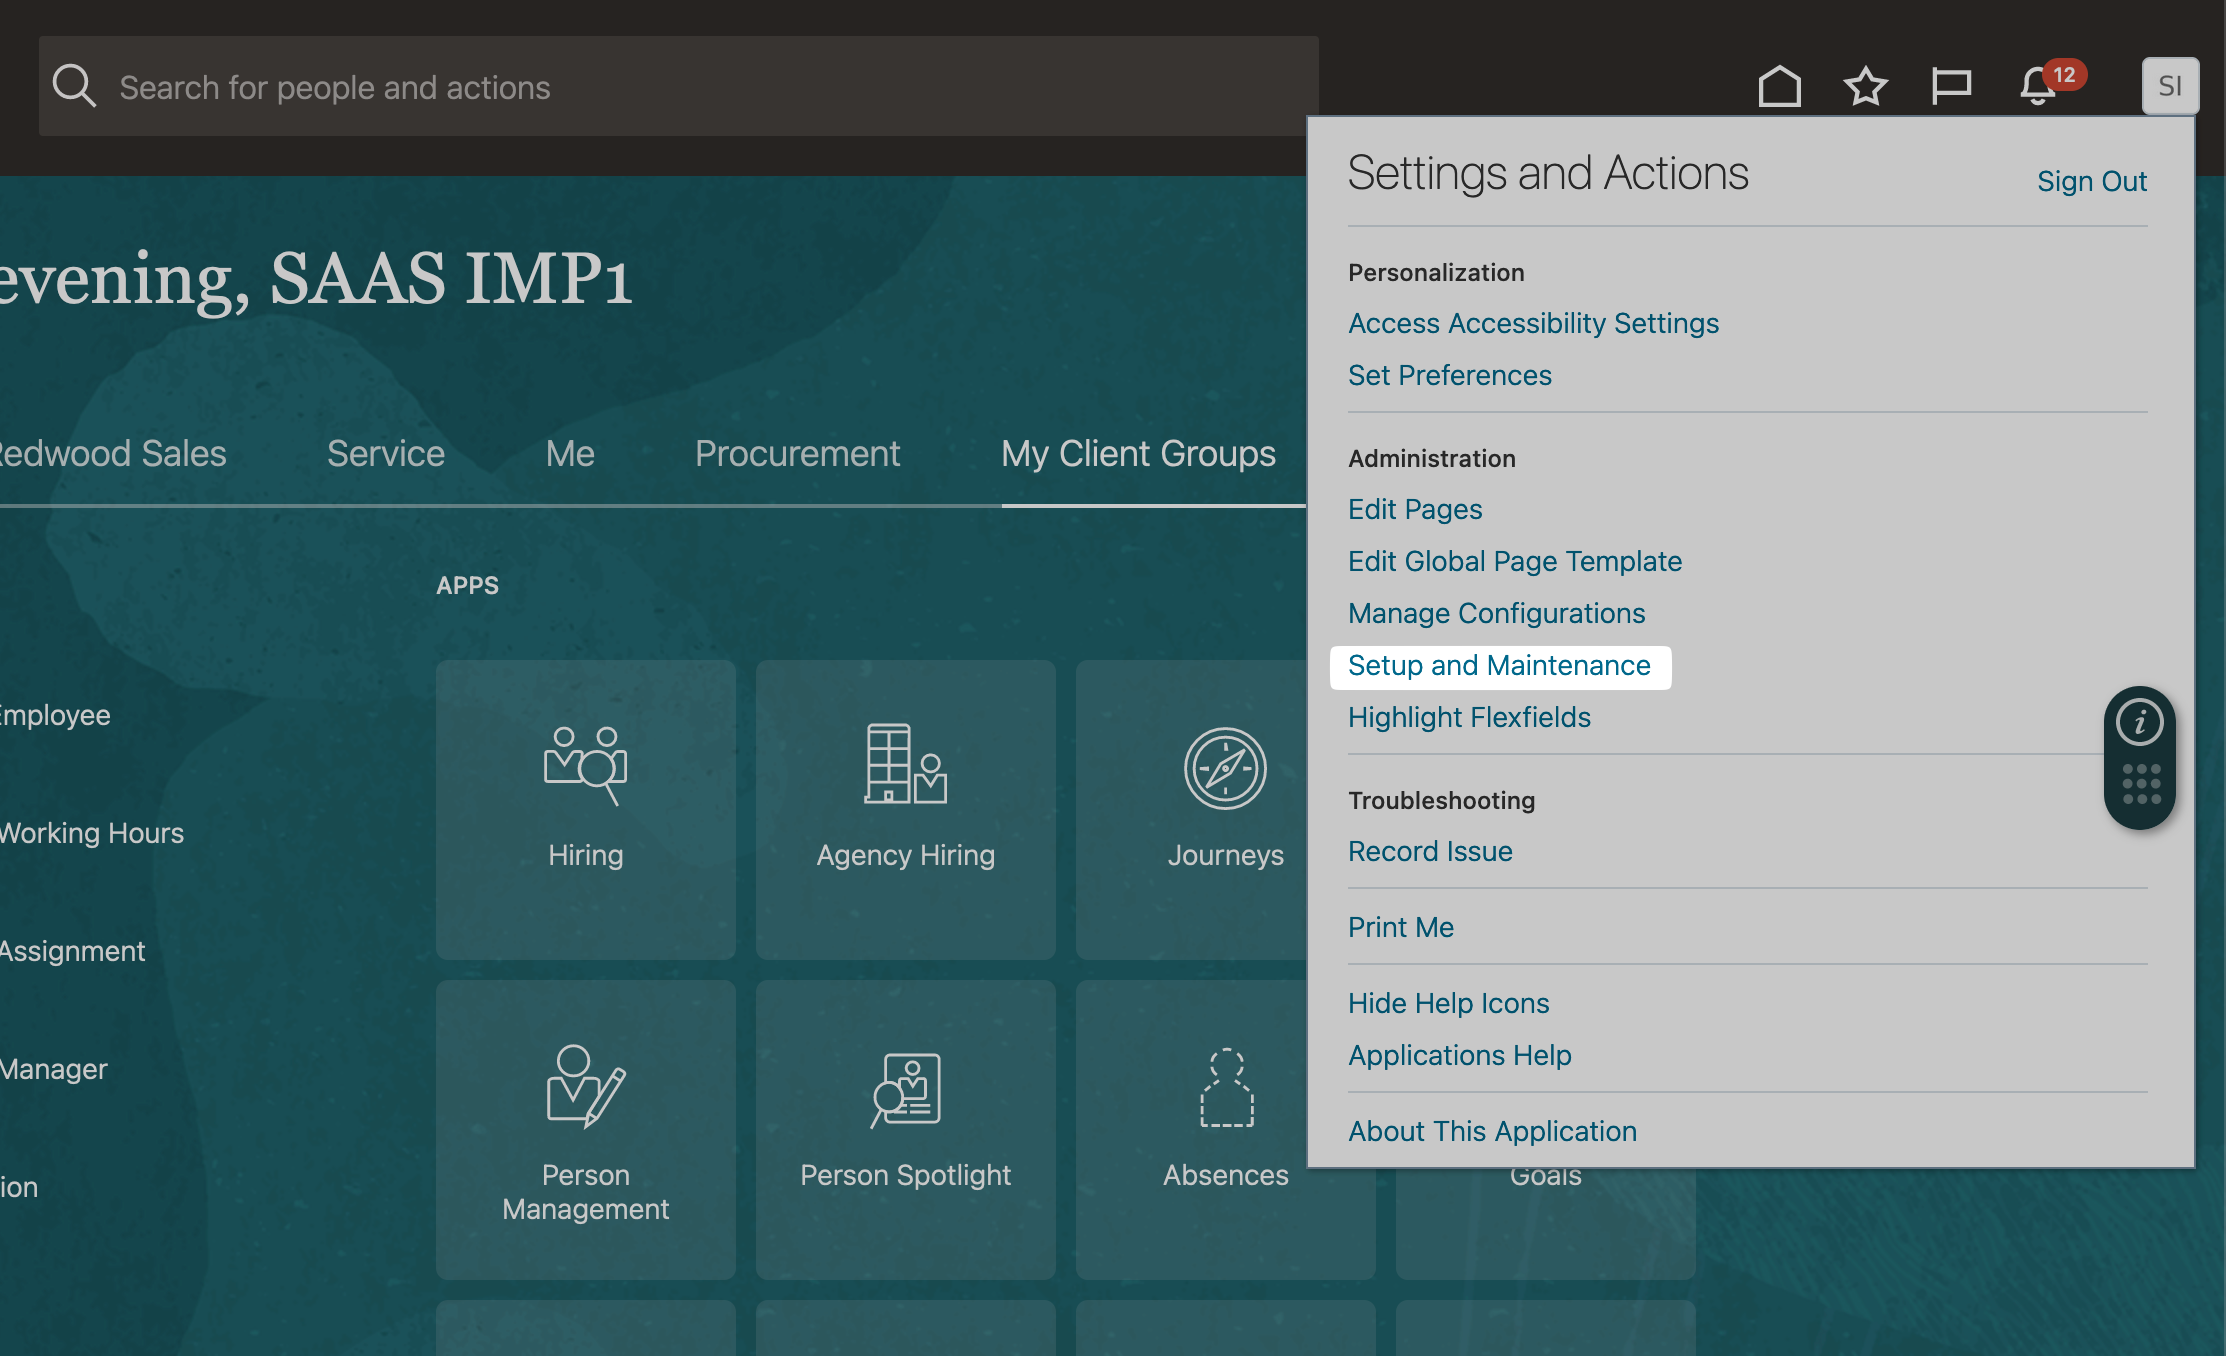
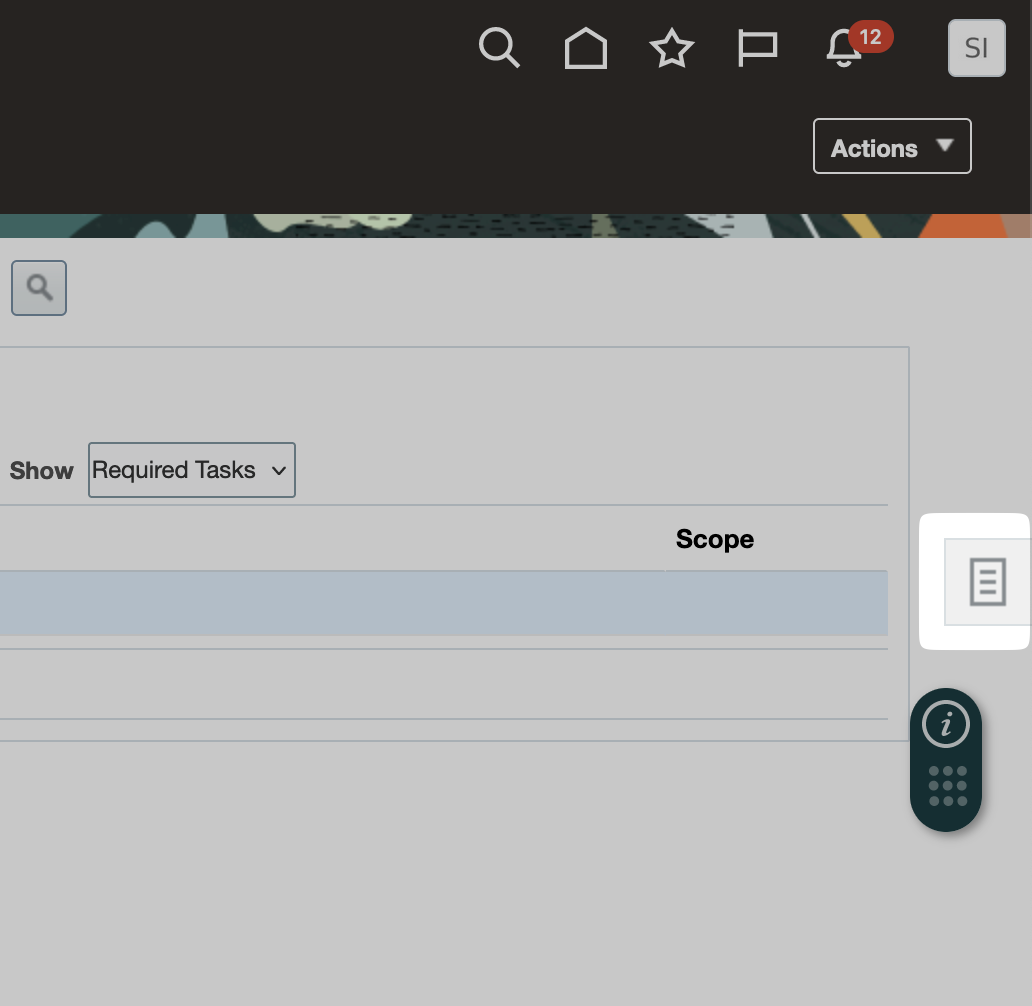
In the right top menu, click on “Setup and Maintenance”:
-
Click on the box on the right side:
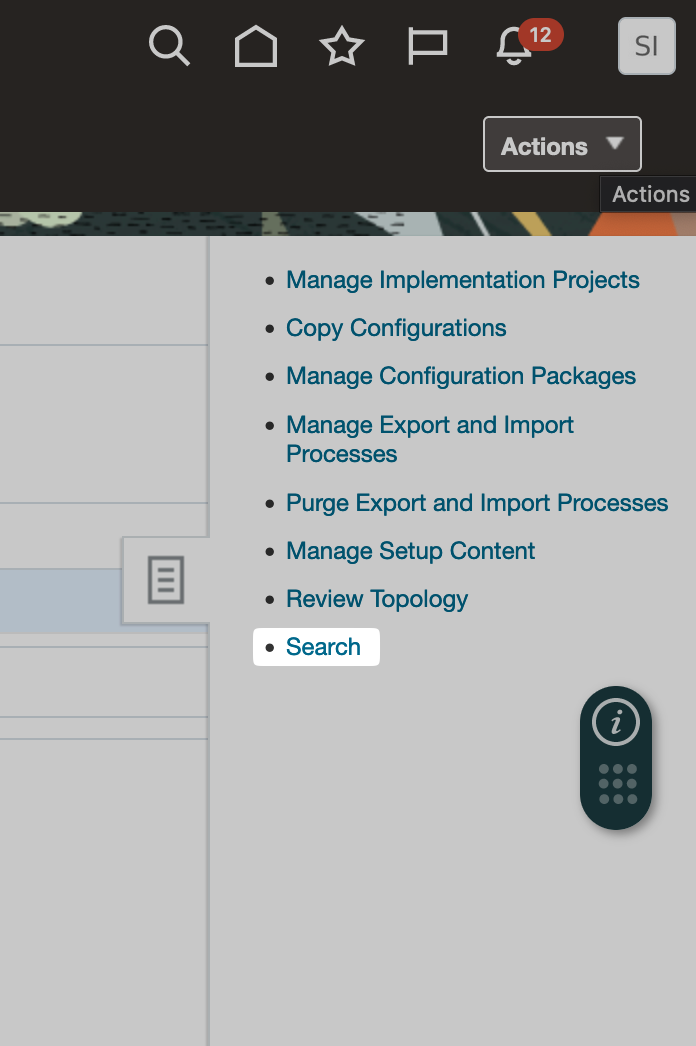
-
Click on “Search”:
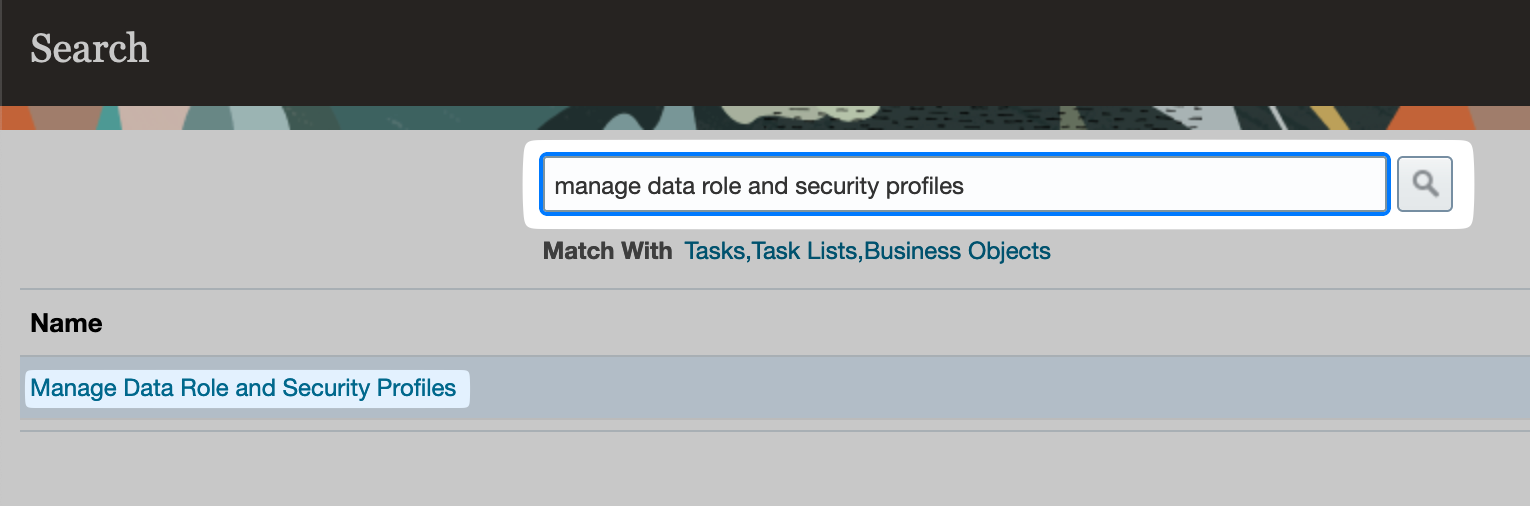
-
Search for “Manage Data Role and Security Profiles” in the search bar, press enter and select the entry as pictured:
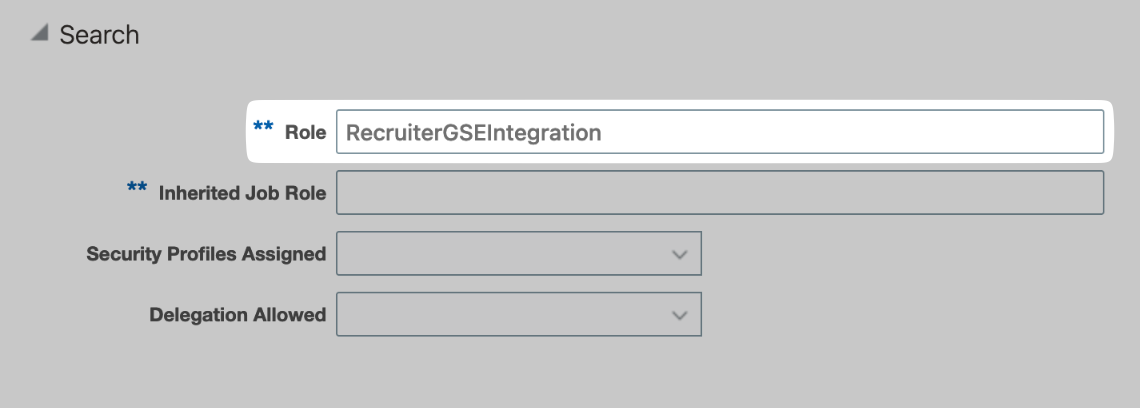
-
Search for the role you created earlier i.e. (RecruiterGSEIntegration):
-
Select the entry as it appears, and select “Edit”:
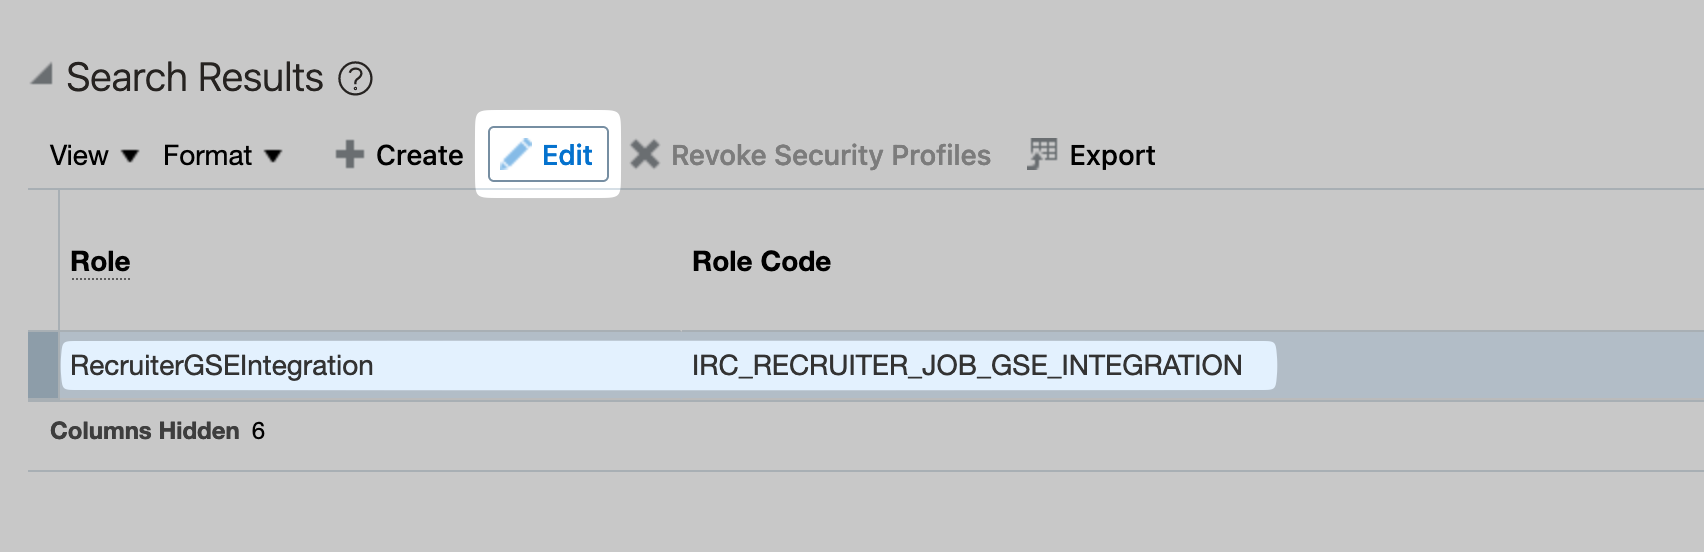
Click “Yes” when prompted. -
Simply click “Next” to go to step 2:
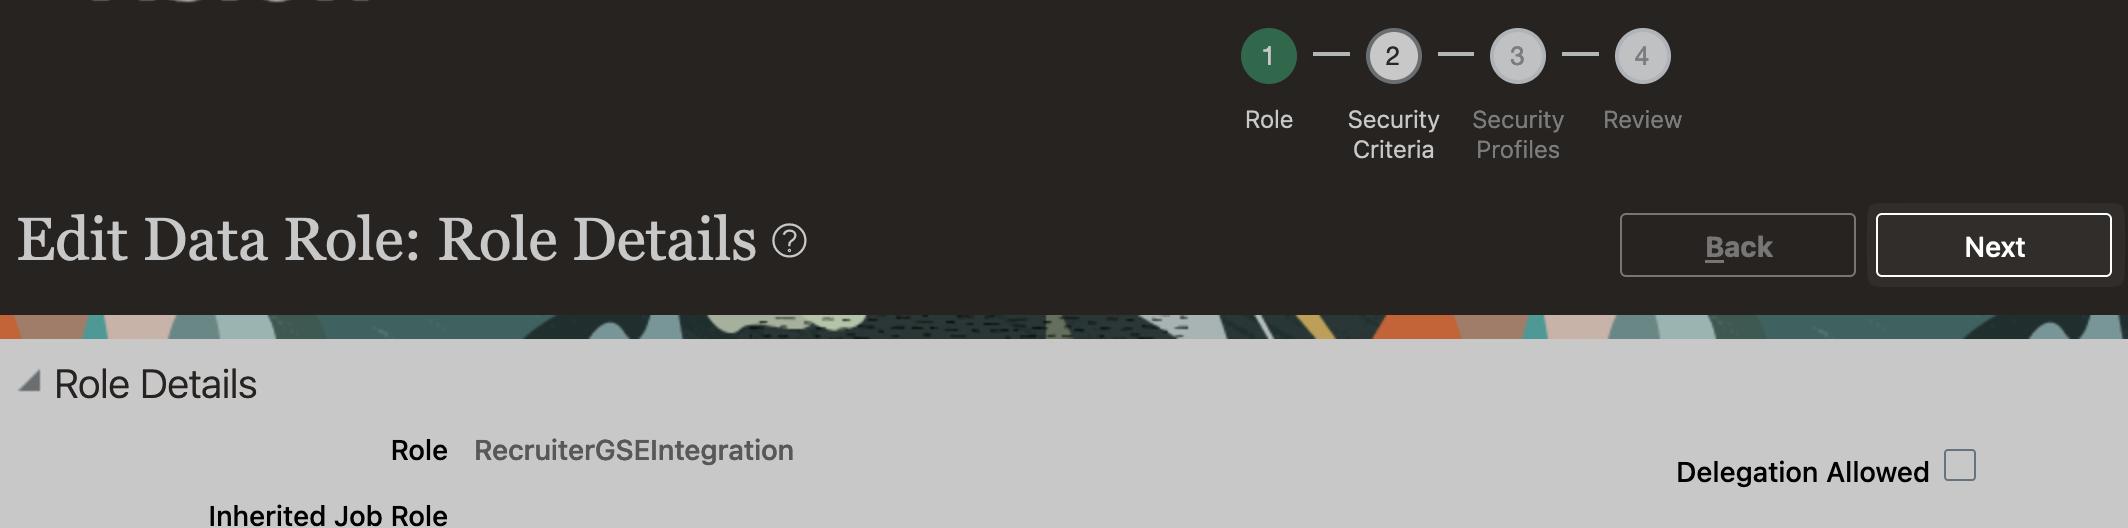
-
Under “Job Requisition”, select “View All Job Requisitions” (or, whichever criteria is relevant for the integration):

-
For the other security criteria, select the relevant option for the integration.
-
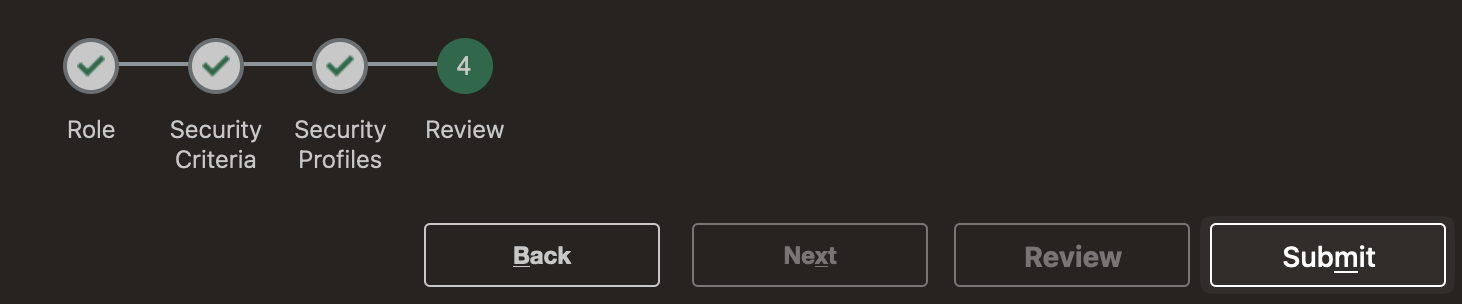
Hit next until your reach the “Review” step.
Finally hit “Submit”: