
Linking your SAP SuccessFactors account
How to link your SAP SuccessFactors account to Wintro?
Prerequisites
Please carefully read the following to make sure you are able to complete the setup:
- You are an Admin of your SAP SuccessFactors instance. If you are not an admin, you won’t even be able to search for and access the configuration pages that are described later on.
- Alternatively: Please contact your SuccessFactors Admin and have them take over the integration setup process.
- The OData v2 API is available and enabled on your SuccessFactors instance (it is by default, so this is usually not something to worry about).
Overview
Estimated, overall setup time: 30 minutes.
Fundamentally, there are 3 main steps you have to complete to set up the integration:
1. You have to create a new user and permission group for that user,
2. You have to create a new permission role and then assign that to the newly-created permission group,
3. You have to generate the API credentials for that permission role.
That’s it! The rest of this document is a step-by-step walkthrough of everything you need to know and do to set up the integration.
Find your API domain
Your API domain will depend on which region you are based in. To find it, you have to:
- Open the SuccessFactors API URLs list.
- Filter for production environments (unless you’re trying to connect a preview instance)
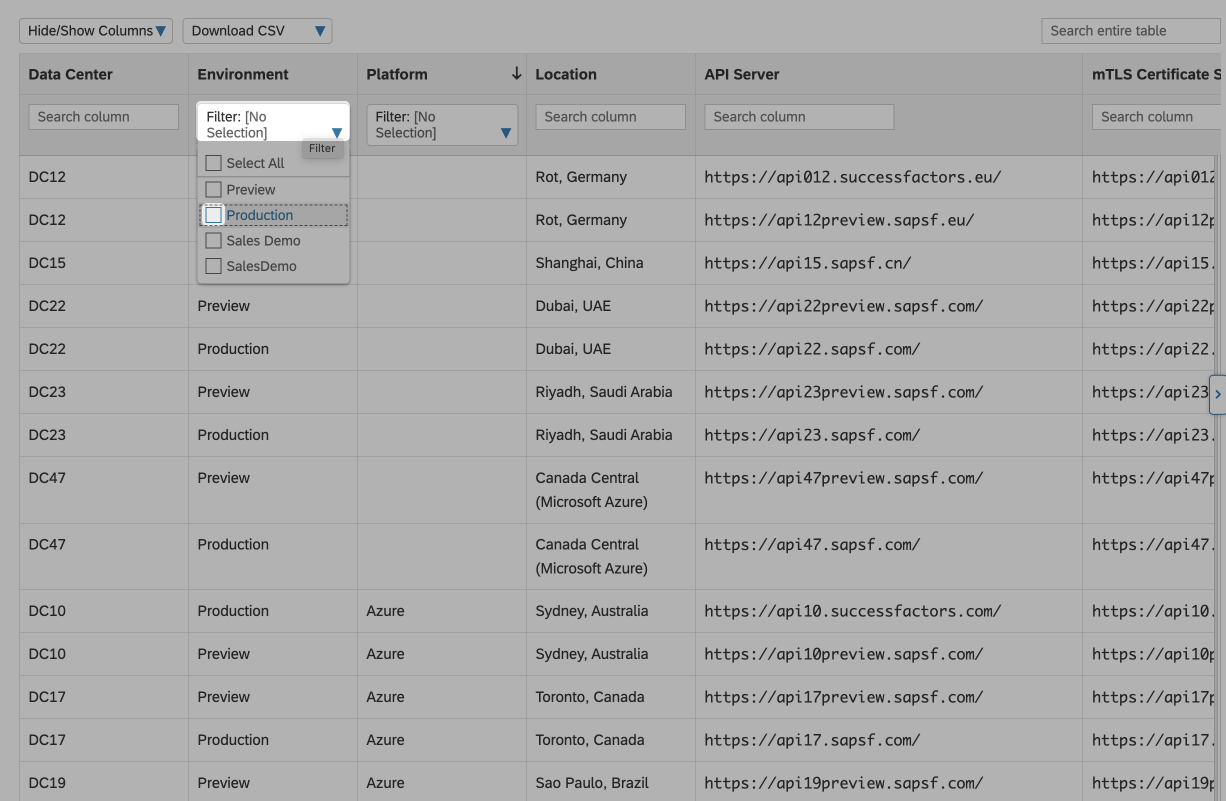
- Once the filter is applied, find your location and select the API domain. If you are, for example, based in Germany, your production URL would be https://api012.successfactors.eu/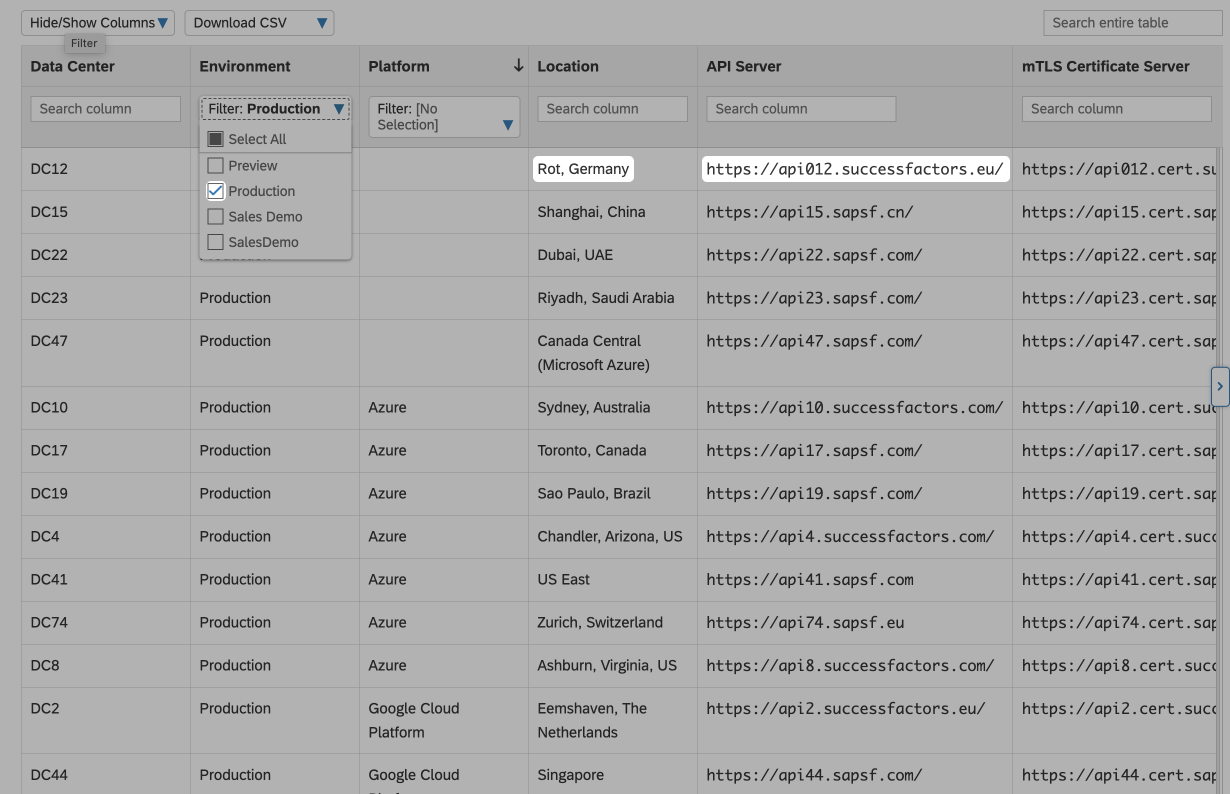
Hint: The resulting “API Server” URL will often look quite similar to the SuccessFactors domain you log in on (the API for pmsalesdemo8.successfactors.com is, for example, located at apisalesdemo8.successfactors.com)
Please note that this is a workaround as there is no direct way to get the API domain via the SuccessFactors UI on your own. SAP shares in their help center that you should reach out to your SAP consultant to get the proper API domain.
Your API endpoint will depend on where your SAP SuccessFactors instance is located. It can be in one of several data centers. Please contact your SAP SuccessFactors representative if you are unsure of which data center to use. You’ll find the endpoints in the Related Information section.
Find your Company ID
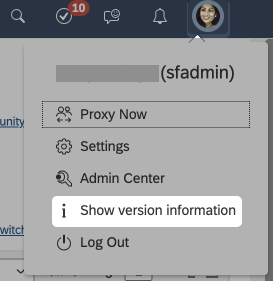
- Click on the profile picture in the top right and then on “Show version information”:
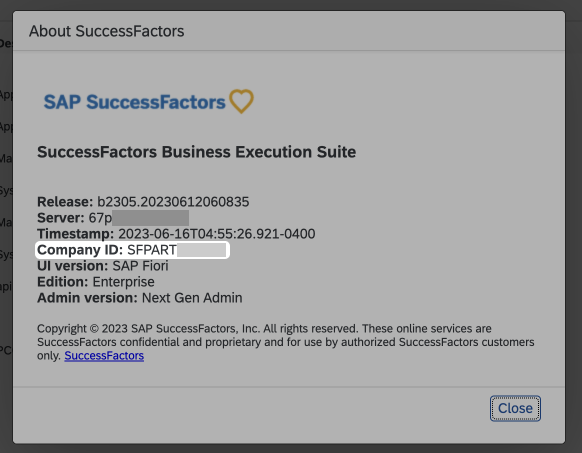
- Copy the value right next to Company ID:
Create a new user
-
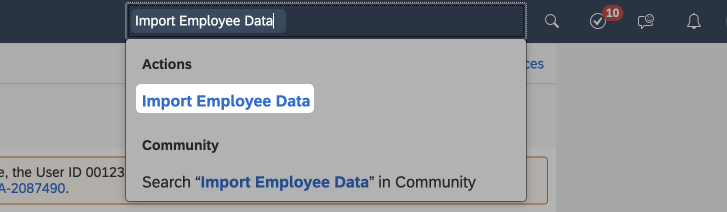
In the admin center, go to the search console and type in “Import Employee Data”.
Click on the action that just appeared:
-
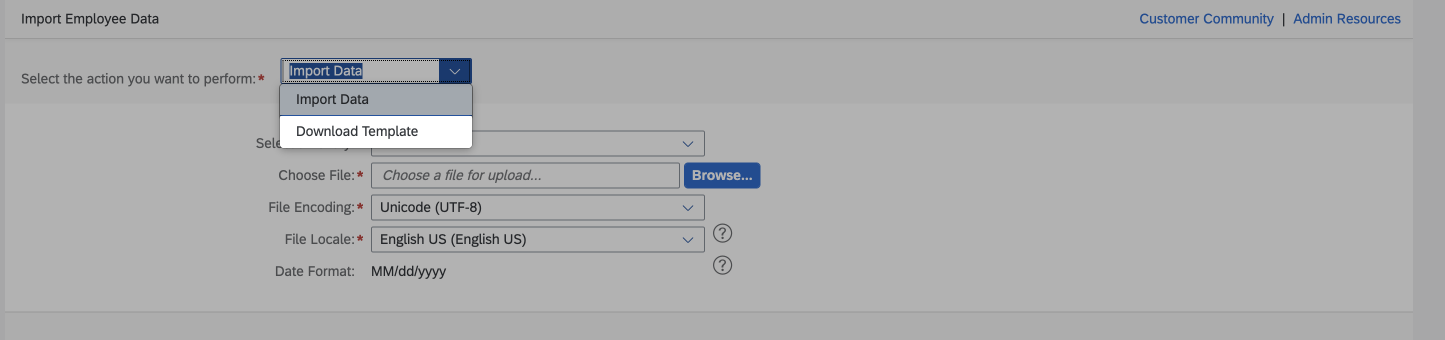
Click on “Import data” and then select “Download Template”:
-
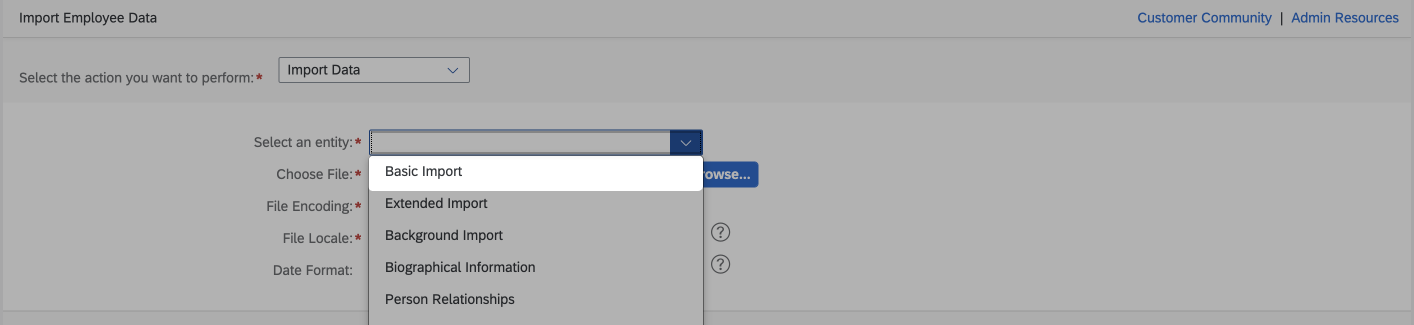
Click on the field next to “Select an entity” and then on “Basic Import”:

-
Click on the “Generate Template” button

-
You will receive a .csv file to download. It likely contains two rows.
-
Add an additional row and fill out at least these fields
- Status: active
- User ID: SFAPI_INTEGRATION (for example, any value possible)
- Username: SFAPI_INTEGRATION (for example, any value possible)
- First name: API (for example, any value possible)
- Last name: Integration (for example, any value possible)
- Email: integration+user@example.com (any value possible - doesn’t have to be a valid email)
- Manager: NO_MANAGER
- HR: NO_HR
- Default locale: en_USYour CSV should now look something like this example CSV.
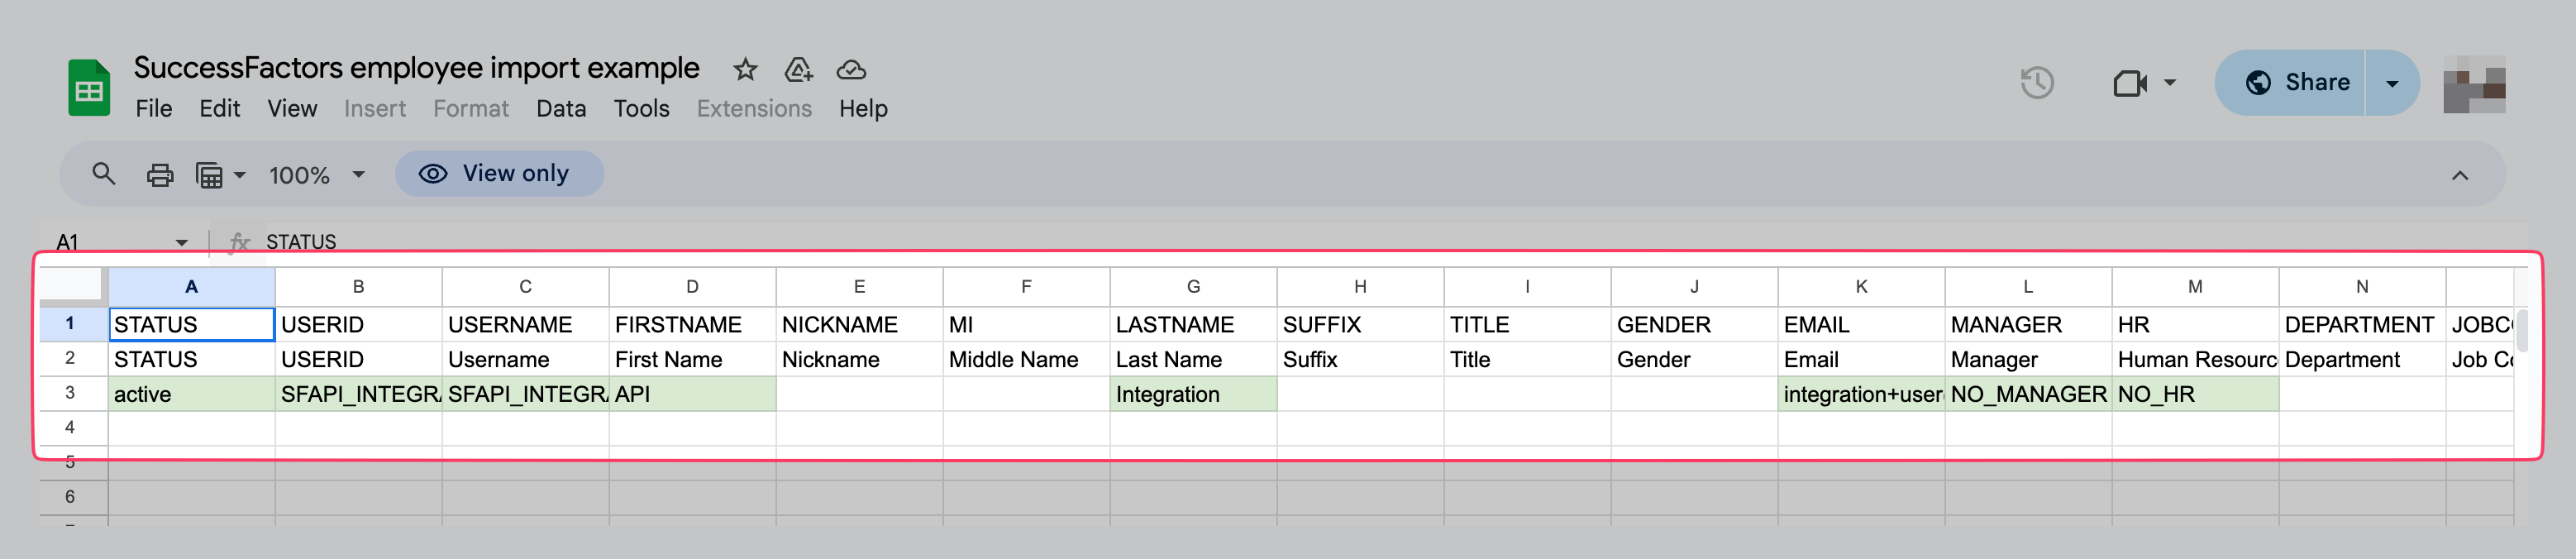
It’s important that you generate your own .csv template and don’t download this example as your SuccessFactors instance will be configured differently
-
Now click on “Download Template” and then on “Import Data” to switch back

-
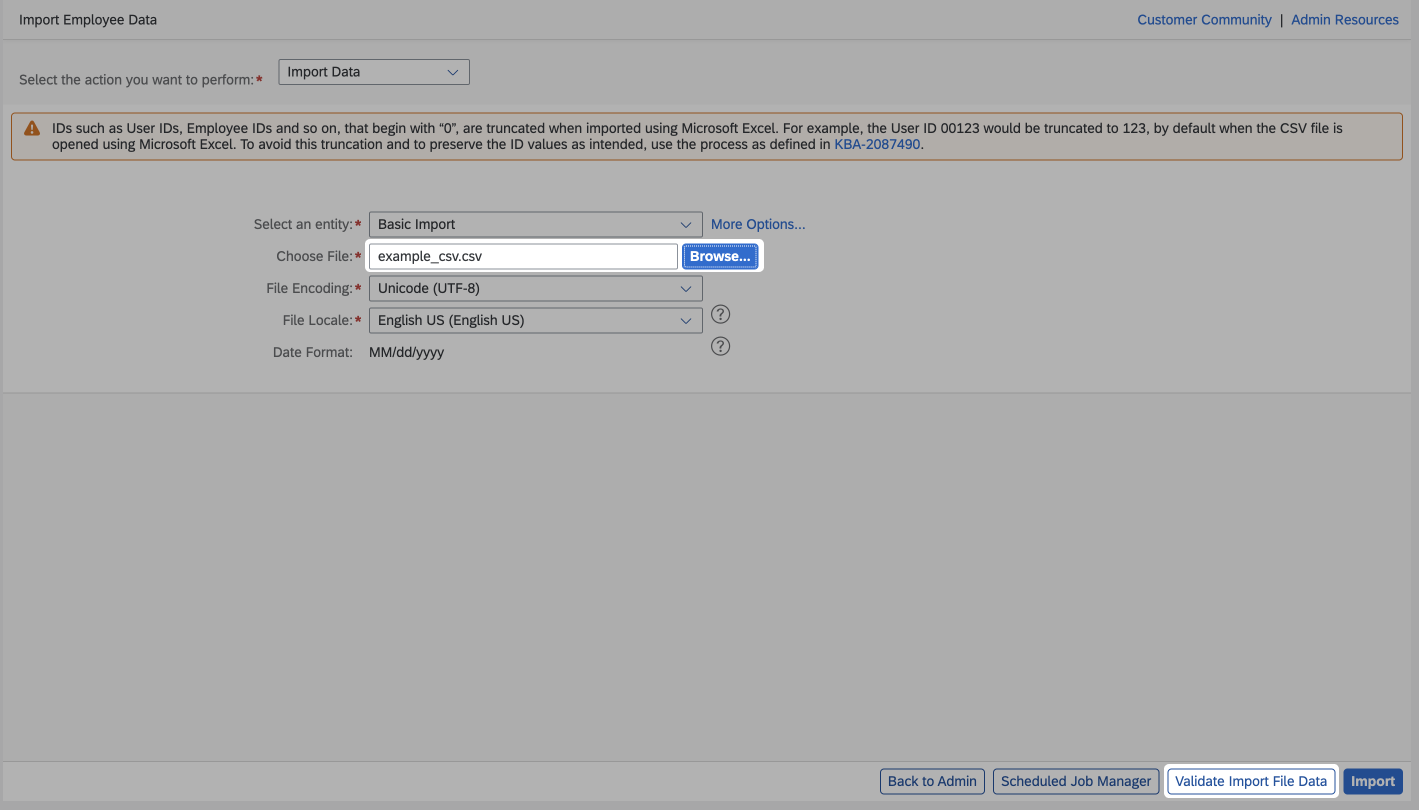
Click on the field next to “Select an entity” and then on “Basic Import”
-
Click on the “Browse” and select your .csv file to upload
-
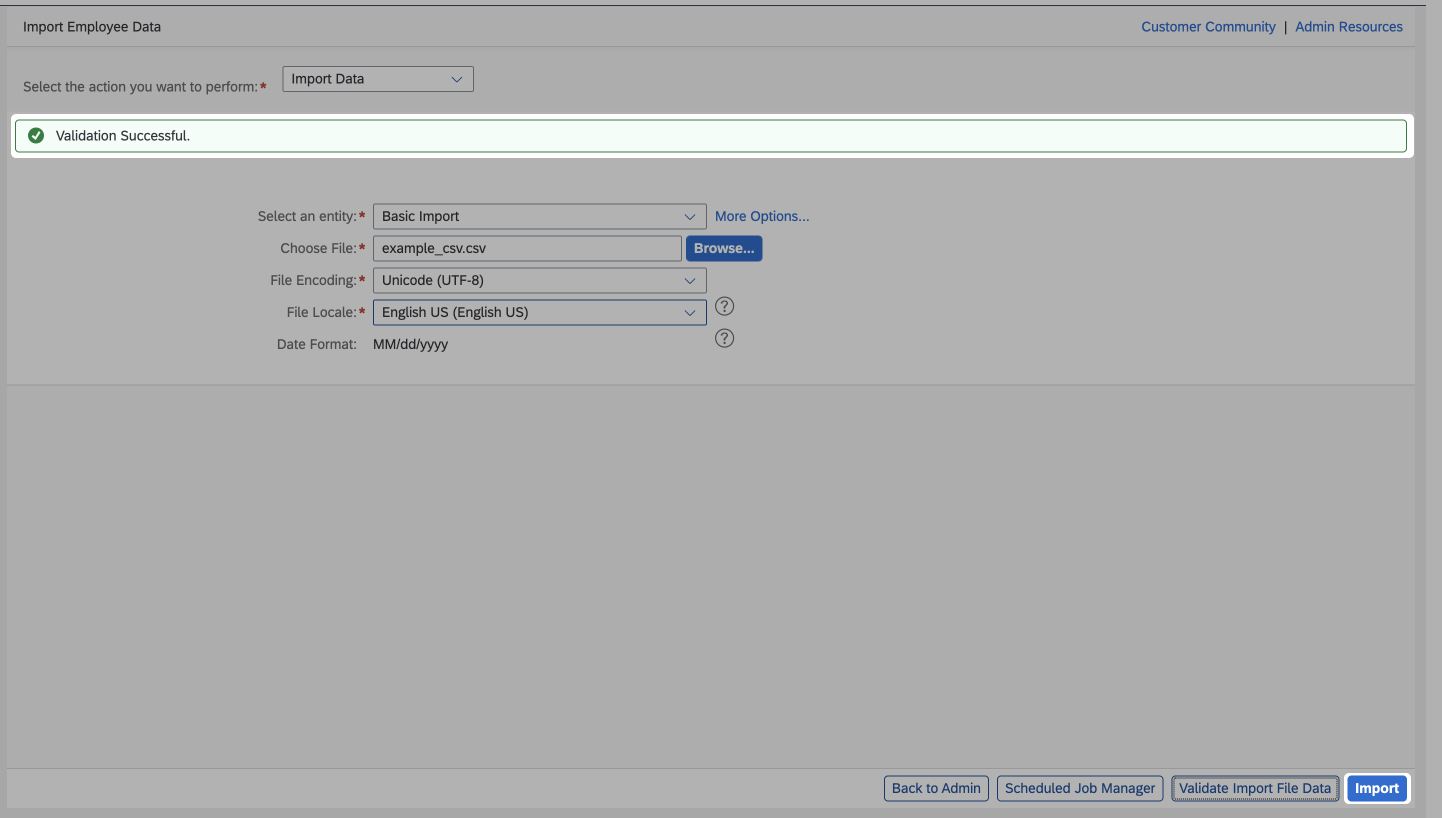
Click on the “Validate Import File Data” button
-
If you see the “Validation Successful” dialog, click on the “Import” button
-
You should now see this success dialog
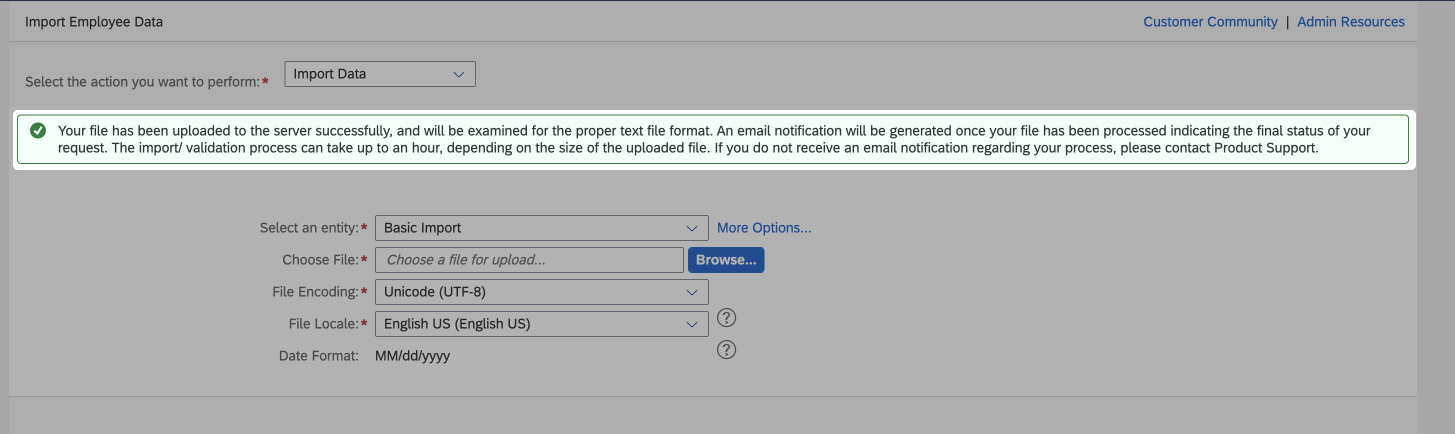
-
Please keep the .csv file open in the background, as you will need to reference it later.
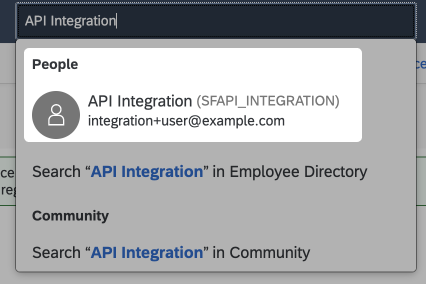
-
You can ensure the creation succeeded by searching for the employee name (first name and last name) or username and seeing it under the “People” section. Don’t be confused if the new user doesn’t show up immediately, it can sometimes take a few minutes for the user to show up in the search!
-
Once the user shows up as described in step 12, you can move on to creating the permissions group.
Create a permissions group
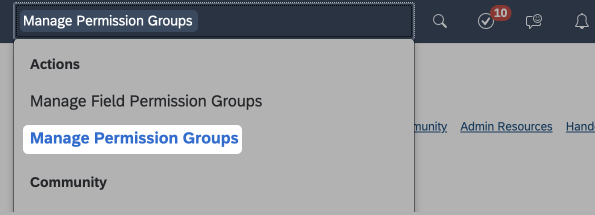
- Go to your search bar and enter “Manage Permission Groups”
Click on the Action
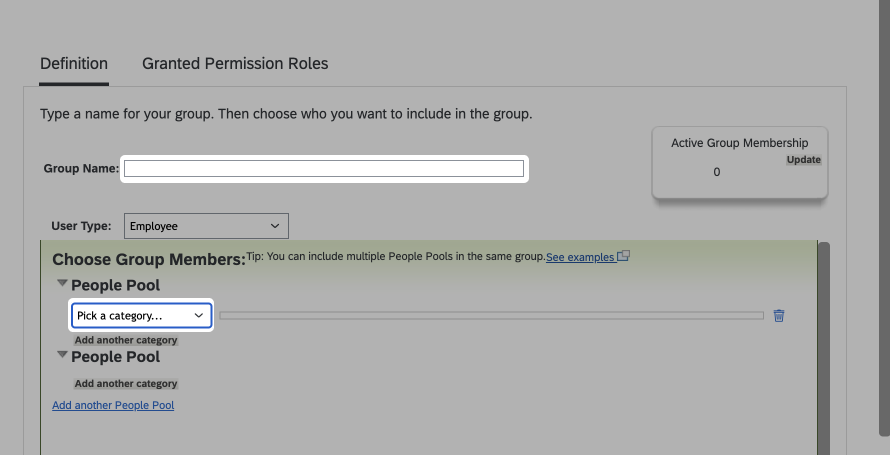
- On the new page, click the “Create New” button

- Give the group a “name” and click on “Pick a category”
Select the category option “Username”
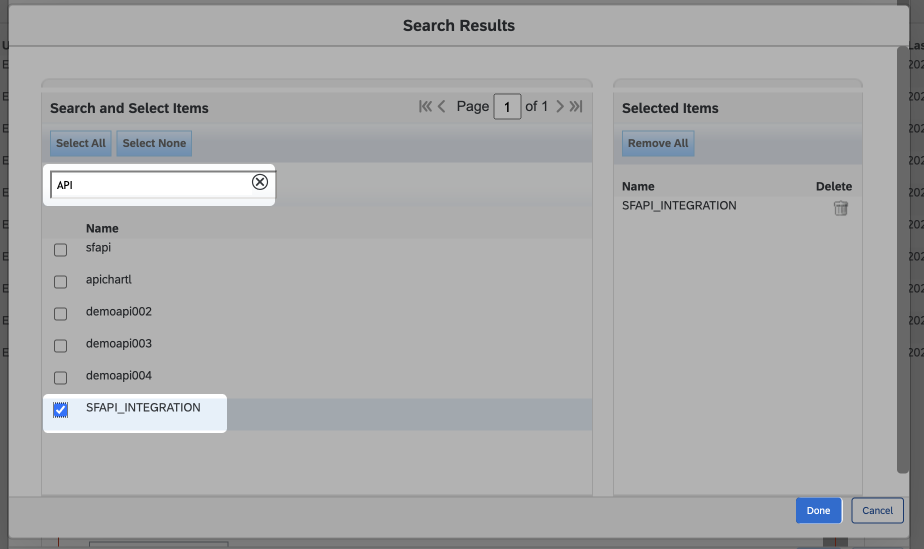
- Search for your user (to learn how to create a new one, click here) by entering its username and tick the box next to it
- Click “Done”
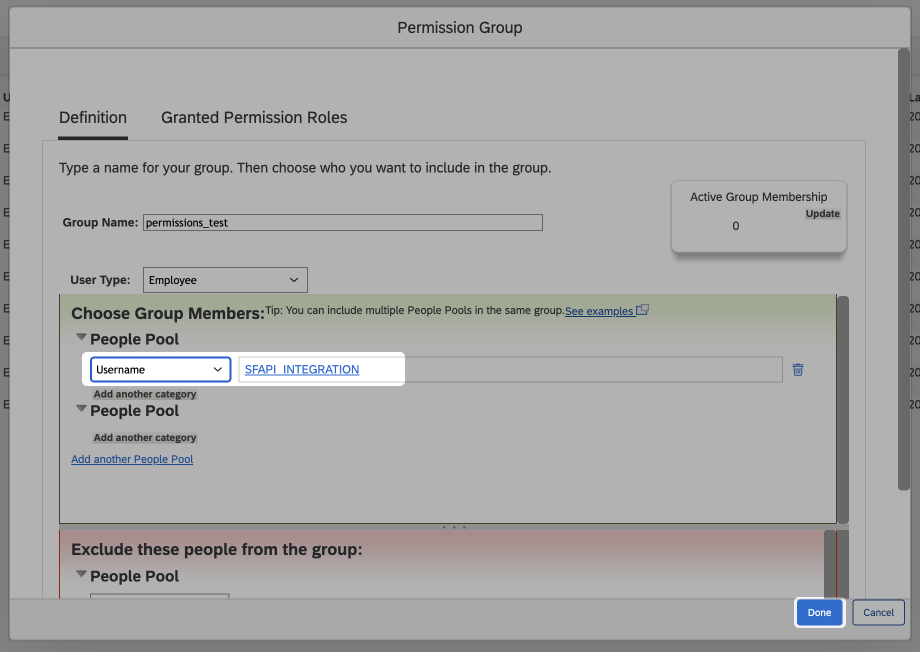
- You should now see your user in the people pool
- Click “Done”
Create a permission role
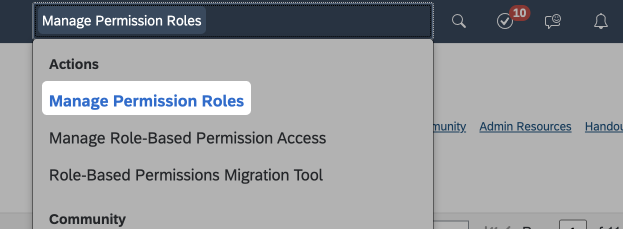
- Go to the search bar and enter “Manage Permission Roles”
Then click on the action with the same name
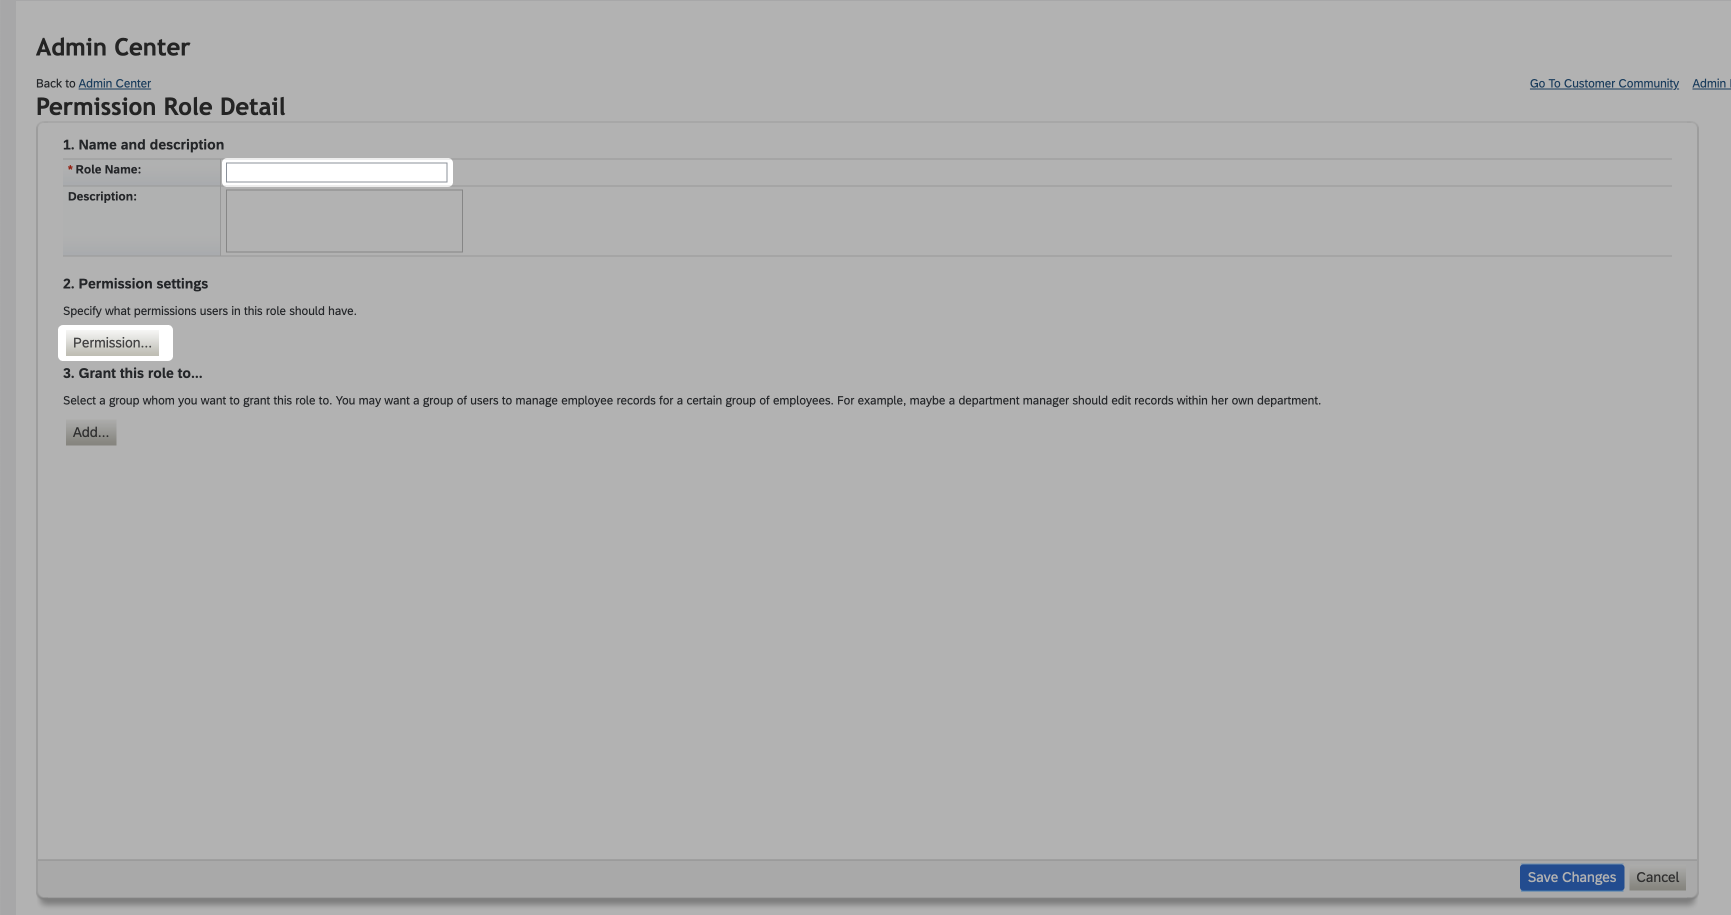
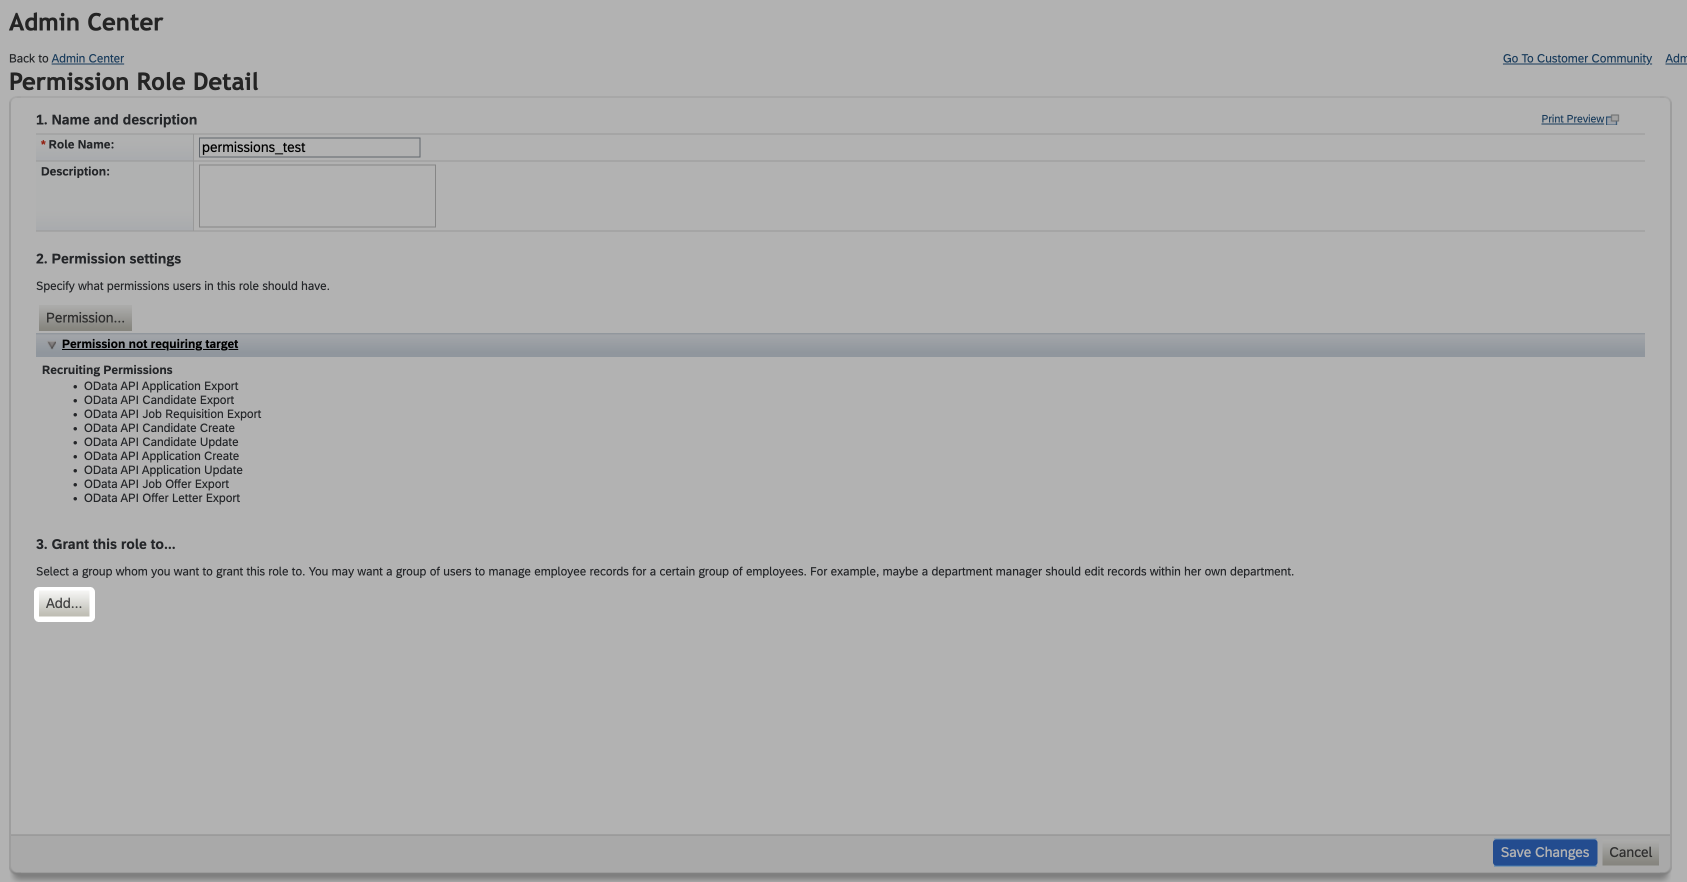
- On the new page, click on “Create New”

- Enter a name for the permission role
- Click on the “Permission” button
- Now you have to assign the correct permissions to the permission group. To do this, go through the following steps:
-
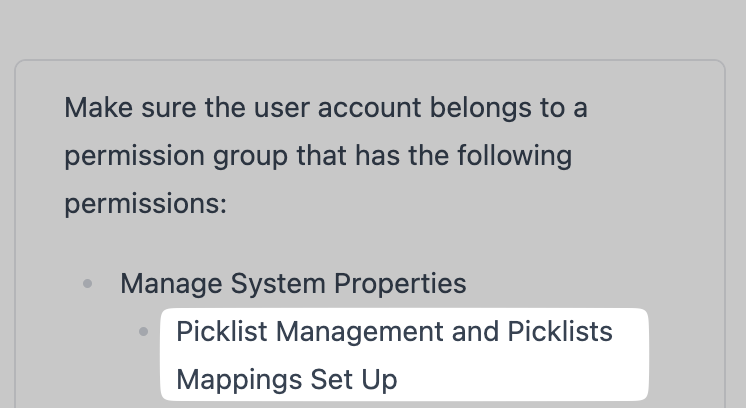
See the needed permissions in the connection flow
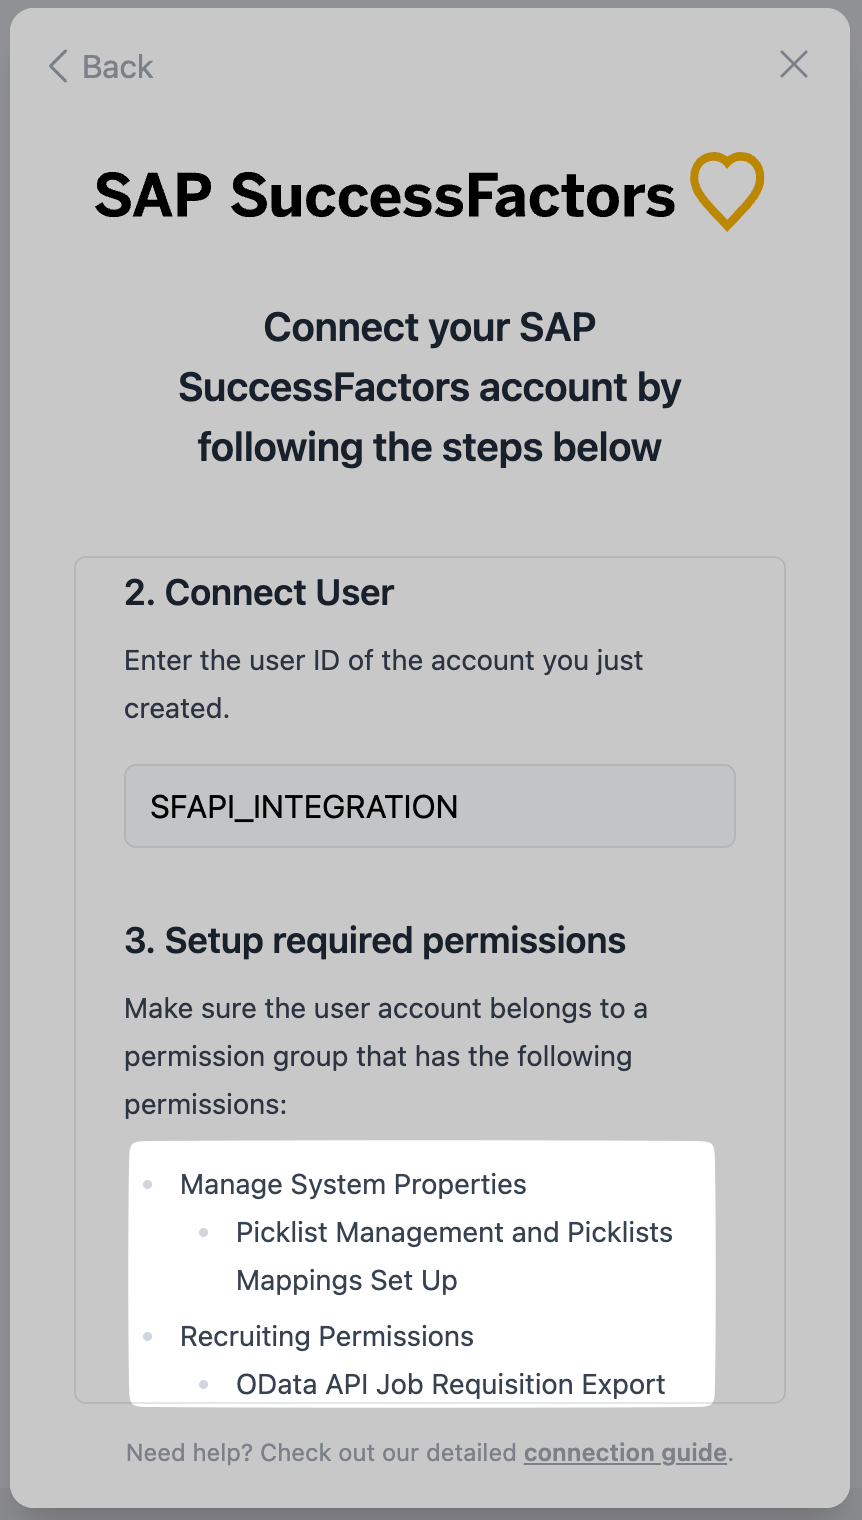
This is just an example. To see the scopes that are required for you, open the connection flow yourself. -
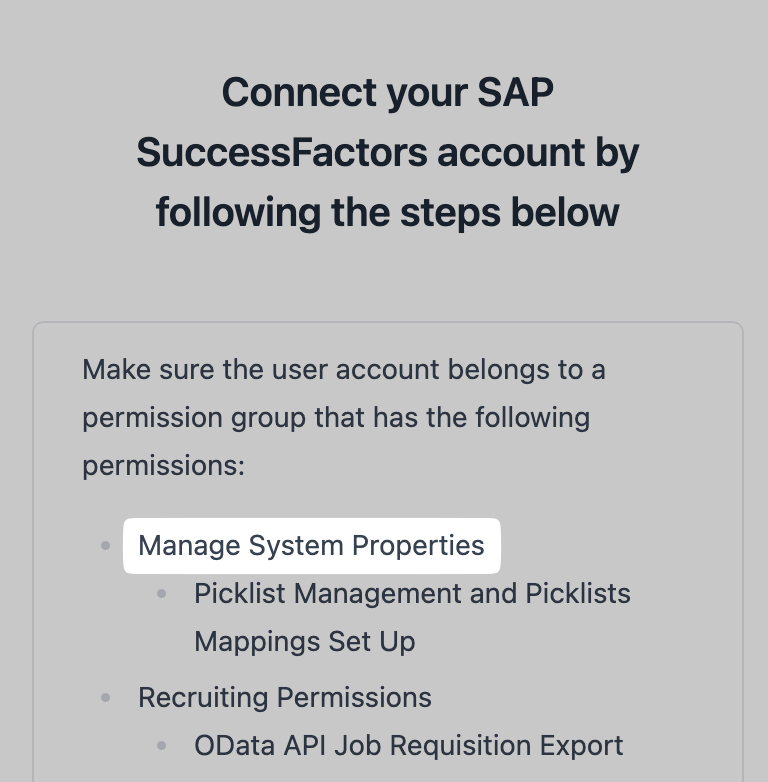
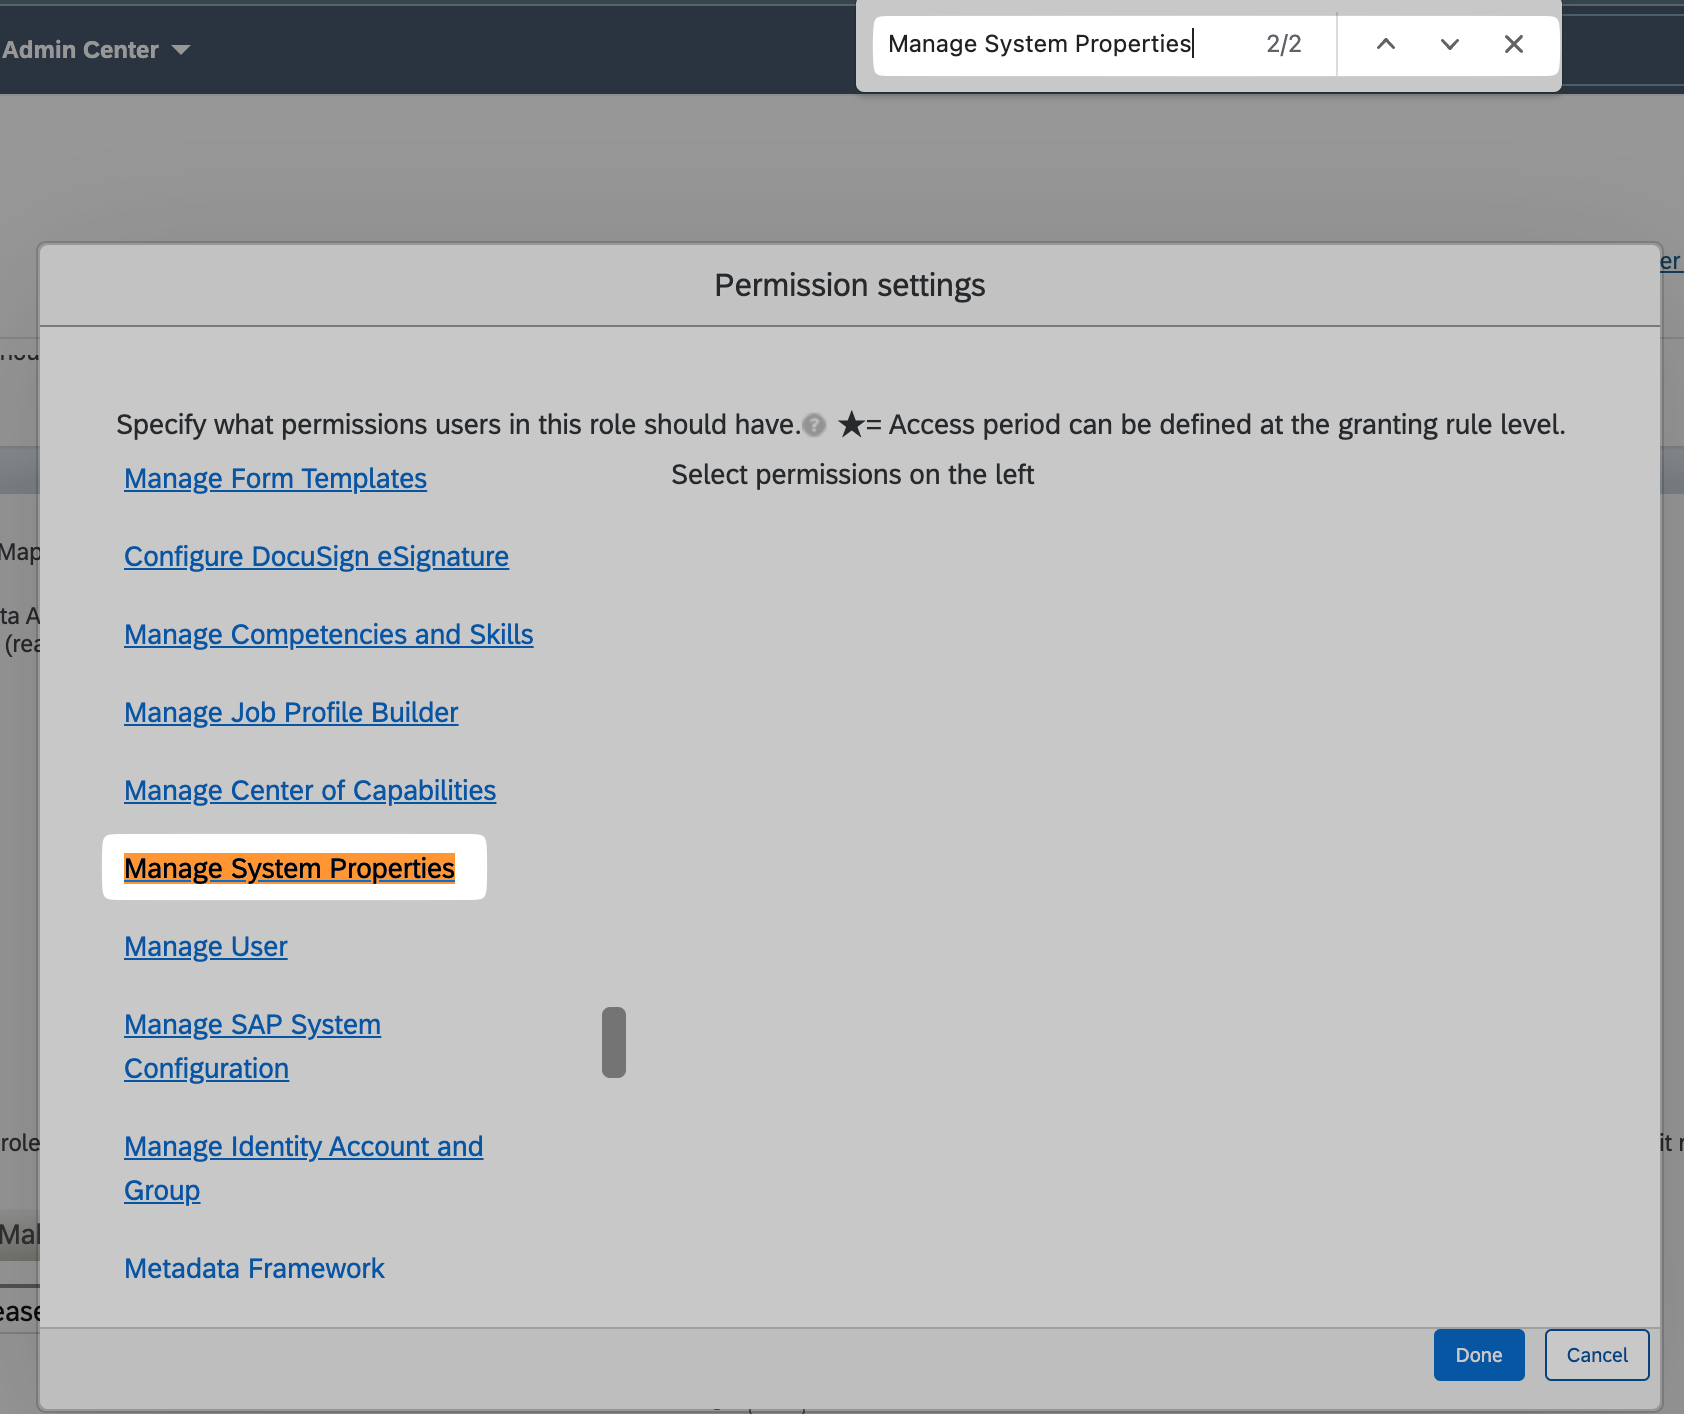
For each Bullet, find the permission category in the sidebar. I.e. for “Manage System Properties”, find the corresponding permission group in the sidebar of the SF UI
You can find these more easily by pressing STRG + F and pasting the permission there
-
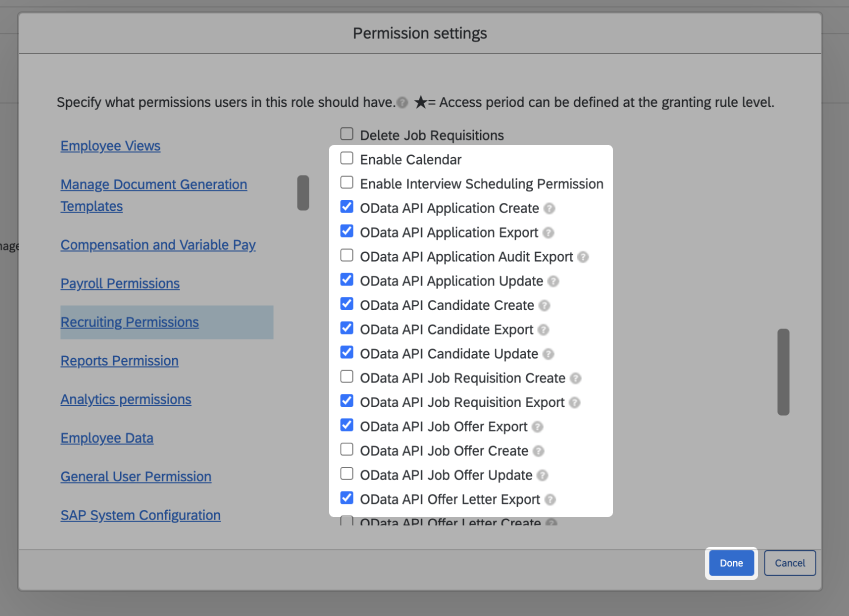
Now for each sub-bullet, click the right permission in the category
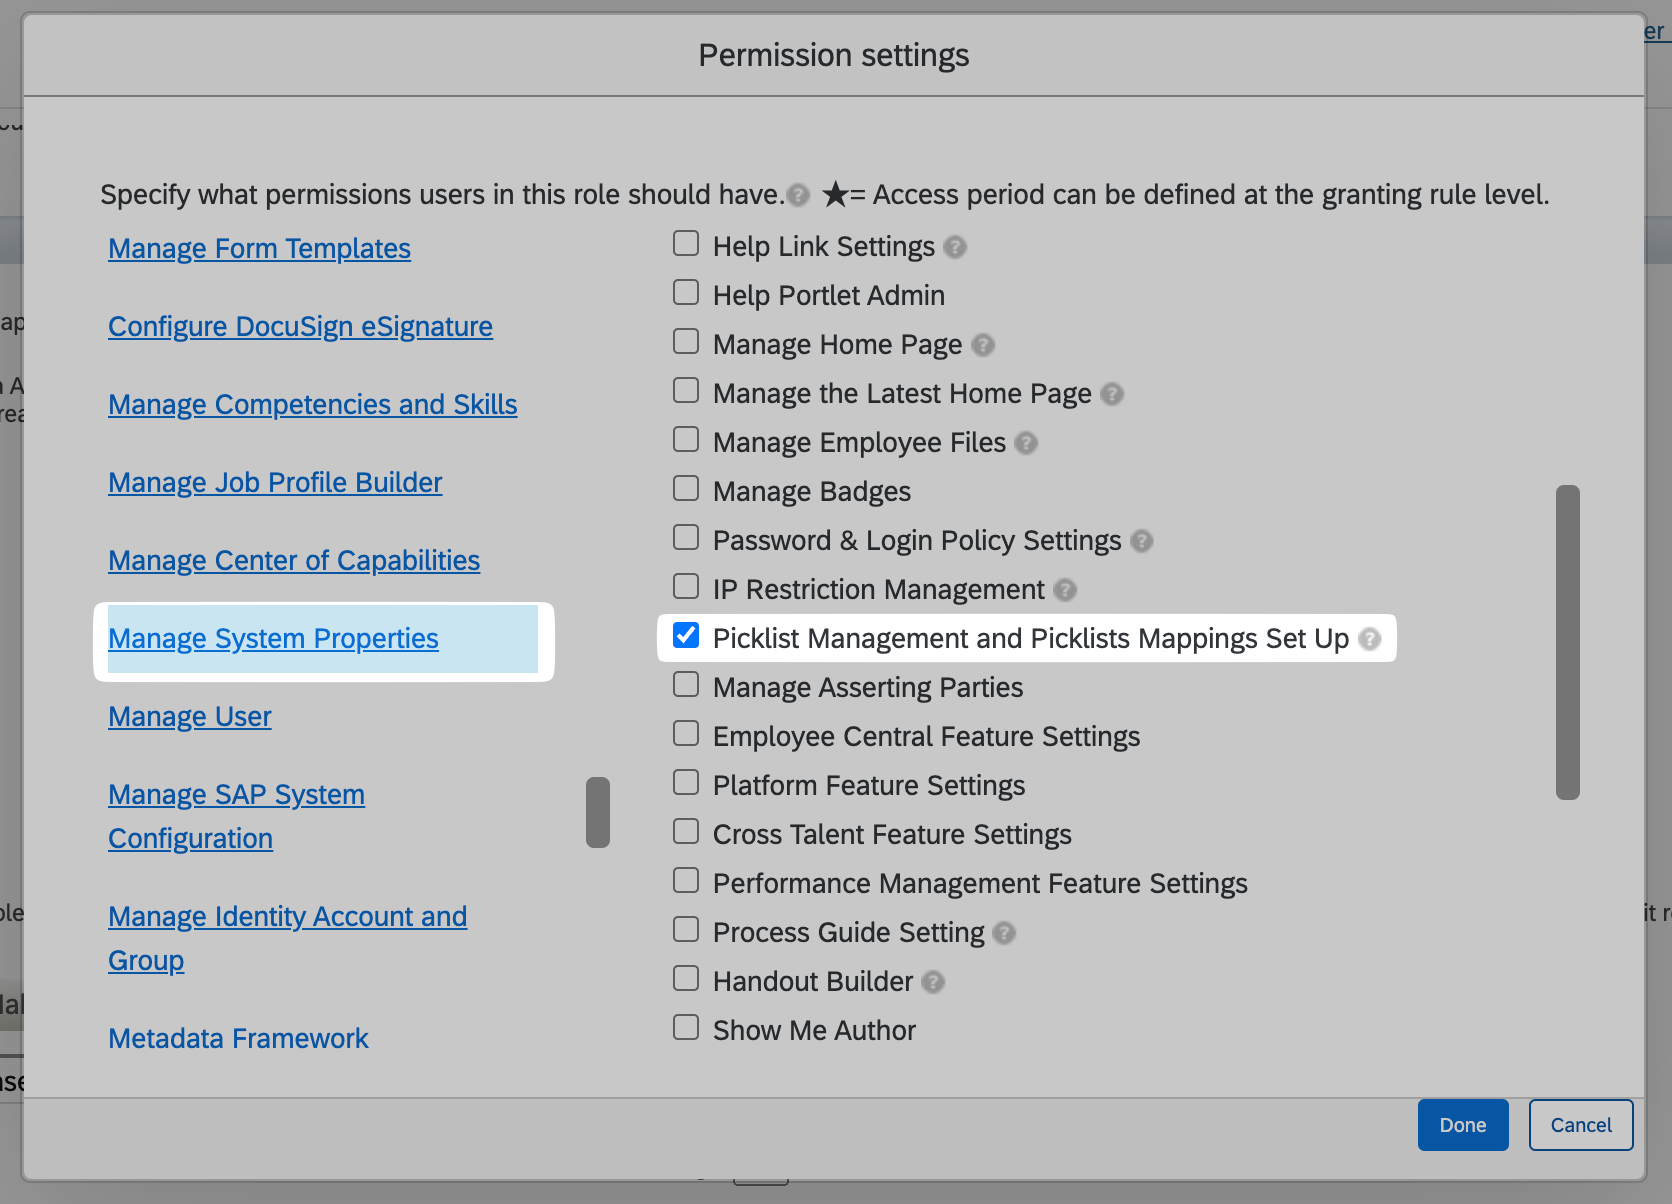
-
- When you checked all necessary permissions, click “Done”
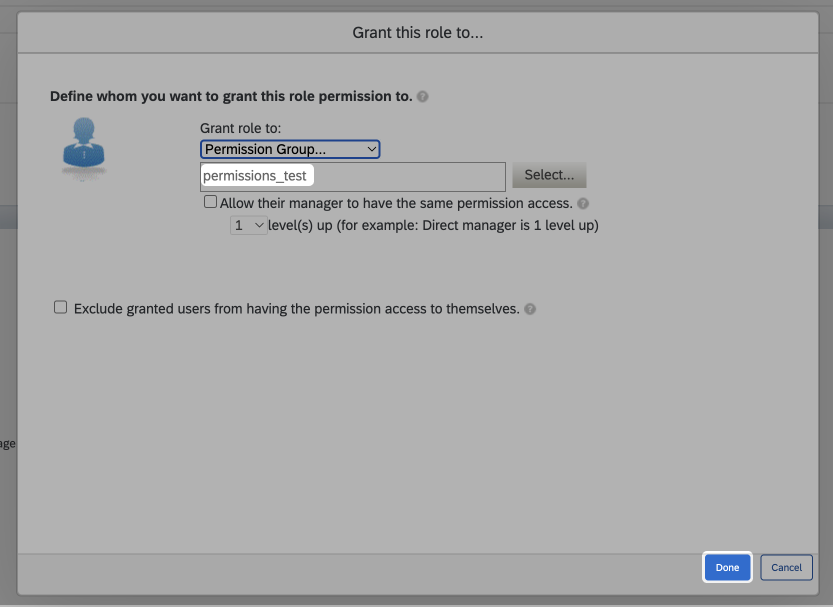
- Now click on the “Add” button under section 3
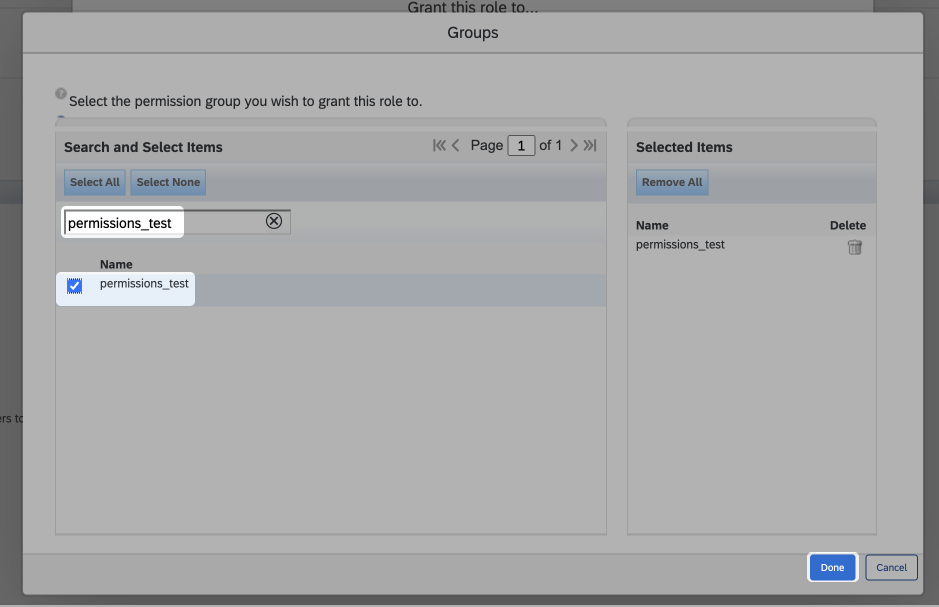
- In the new window, click on the “Select” button

- Enter the name of your permission group (if you haven’t created one yet, click here) and select it
- Click “Done”
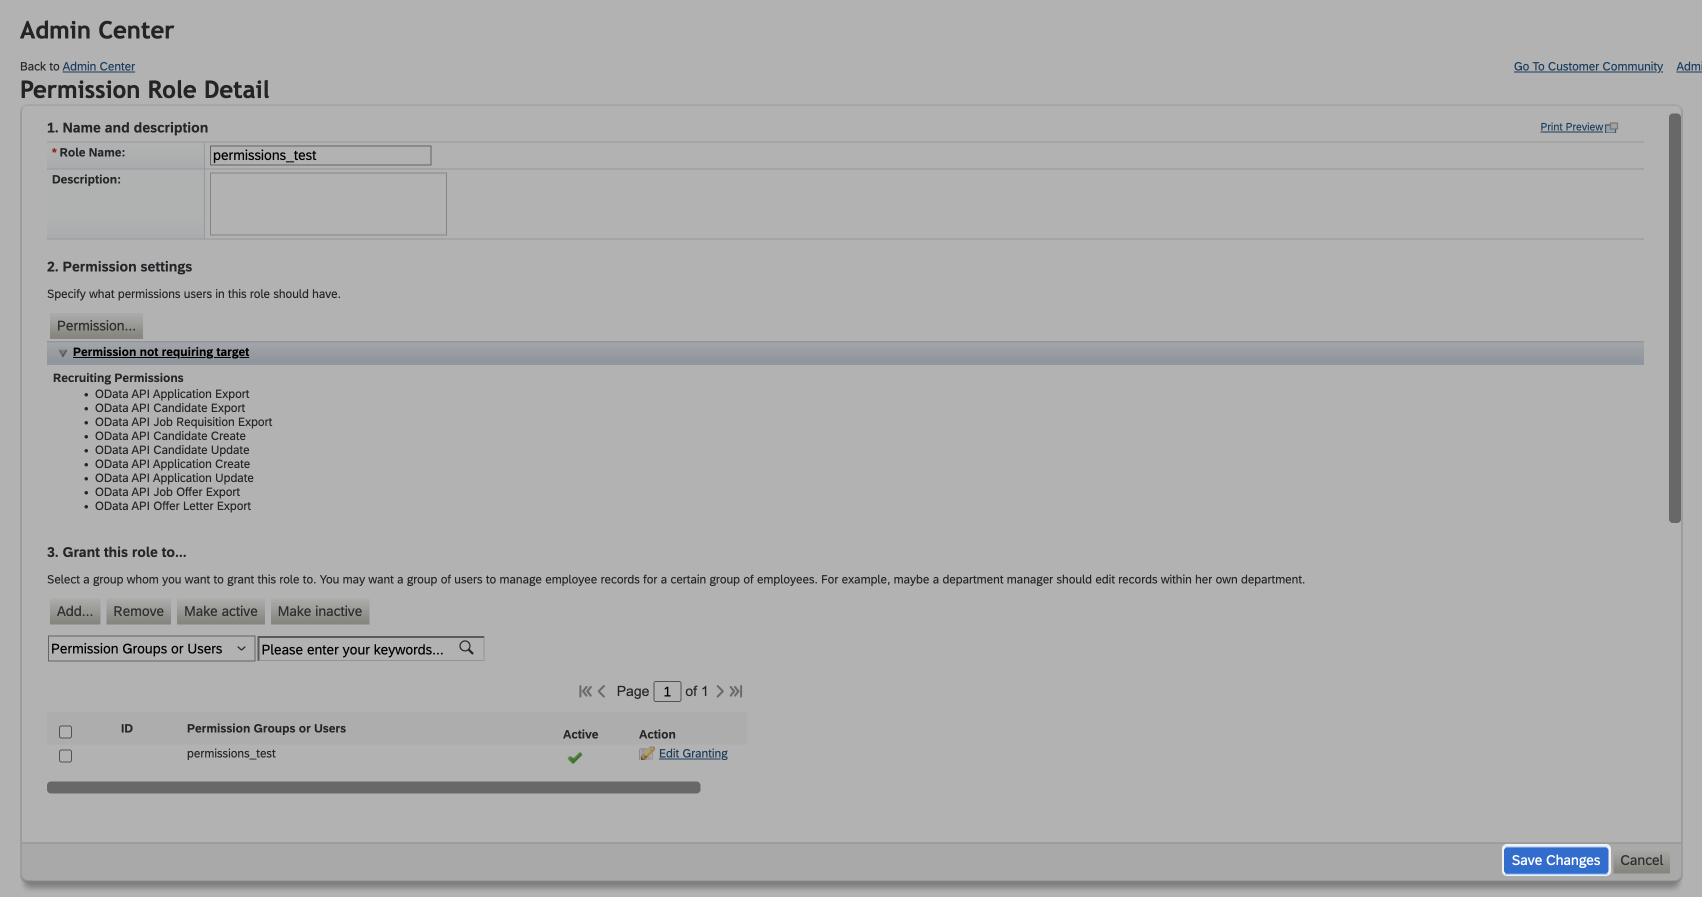
- You should now see your permission group
- Click “Done” again
- At last, click “Save Changes”
Generate new OAuth2 client credentials
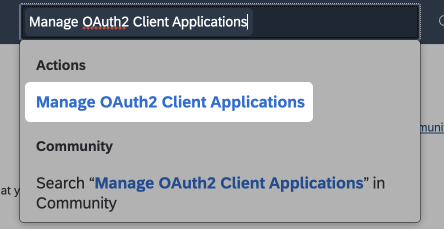
- Go to your search bar and enter “Manage OAuth2 Client Applications”
Click on the action
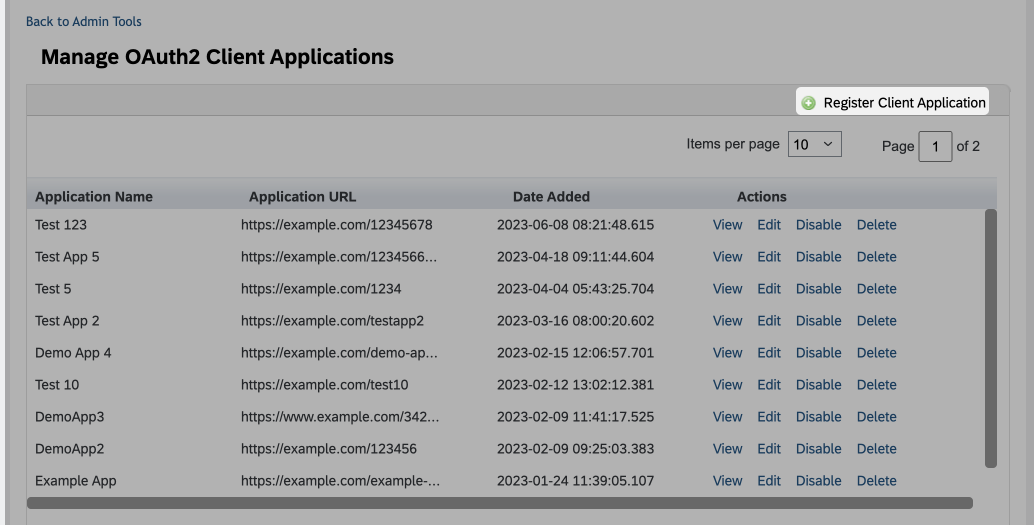
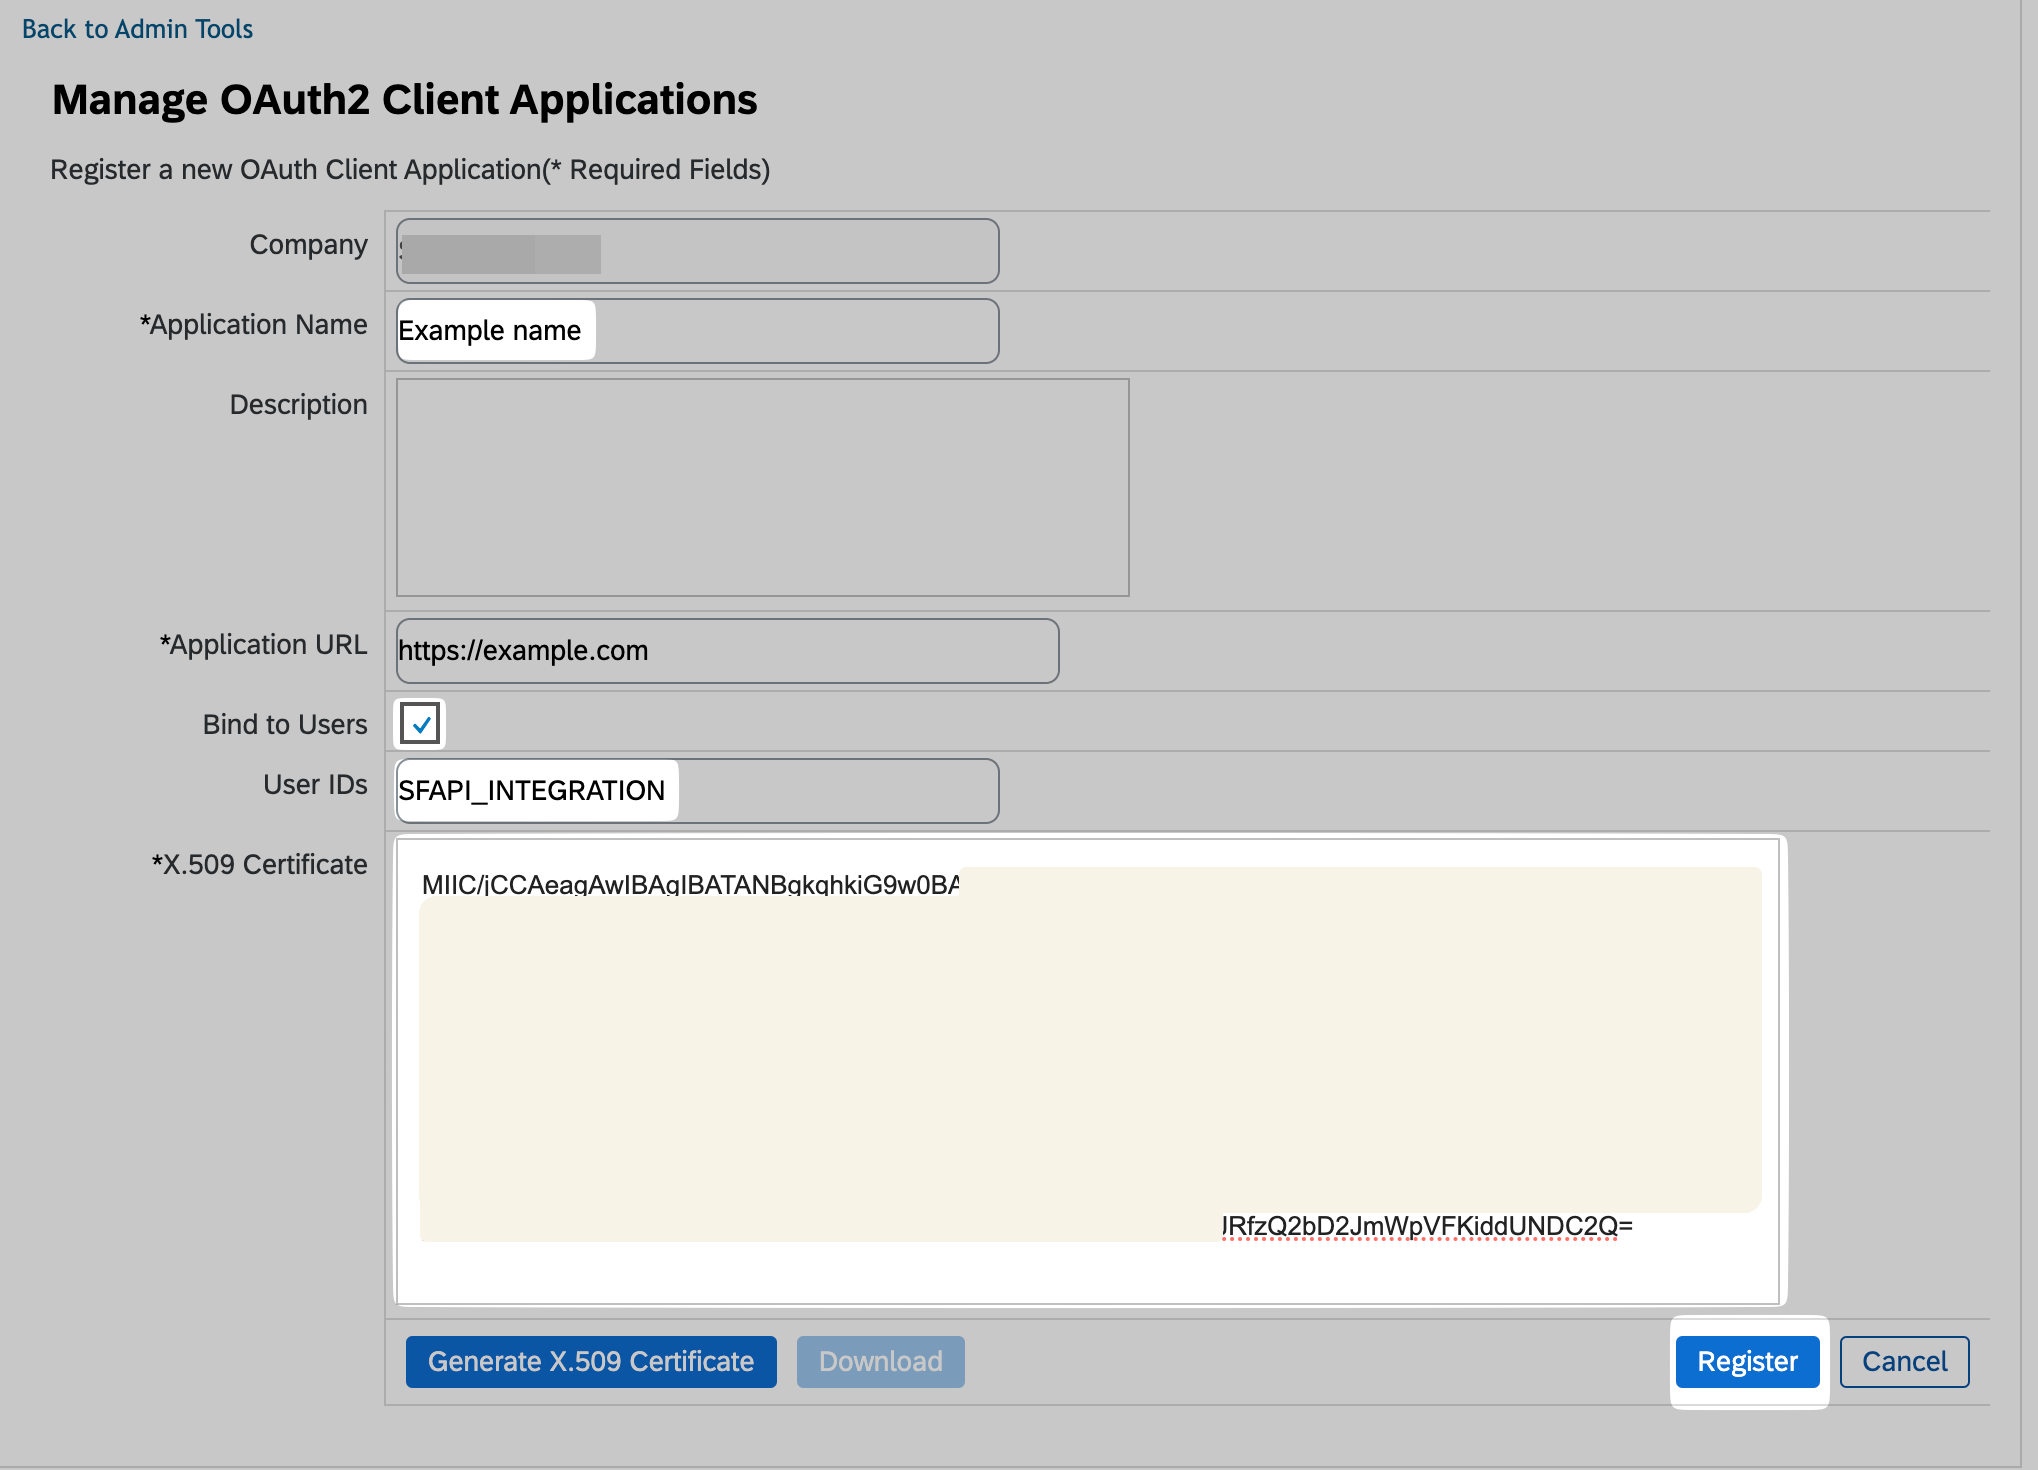
- In the new window, click on “Register Client Application”
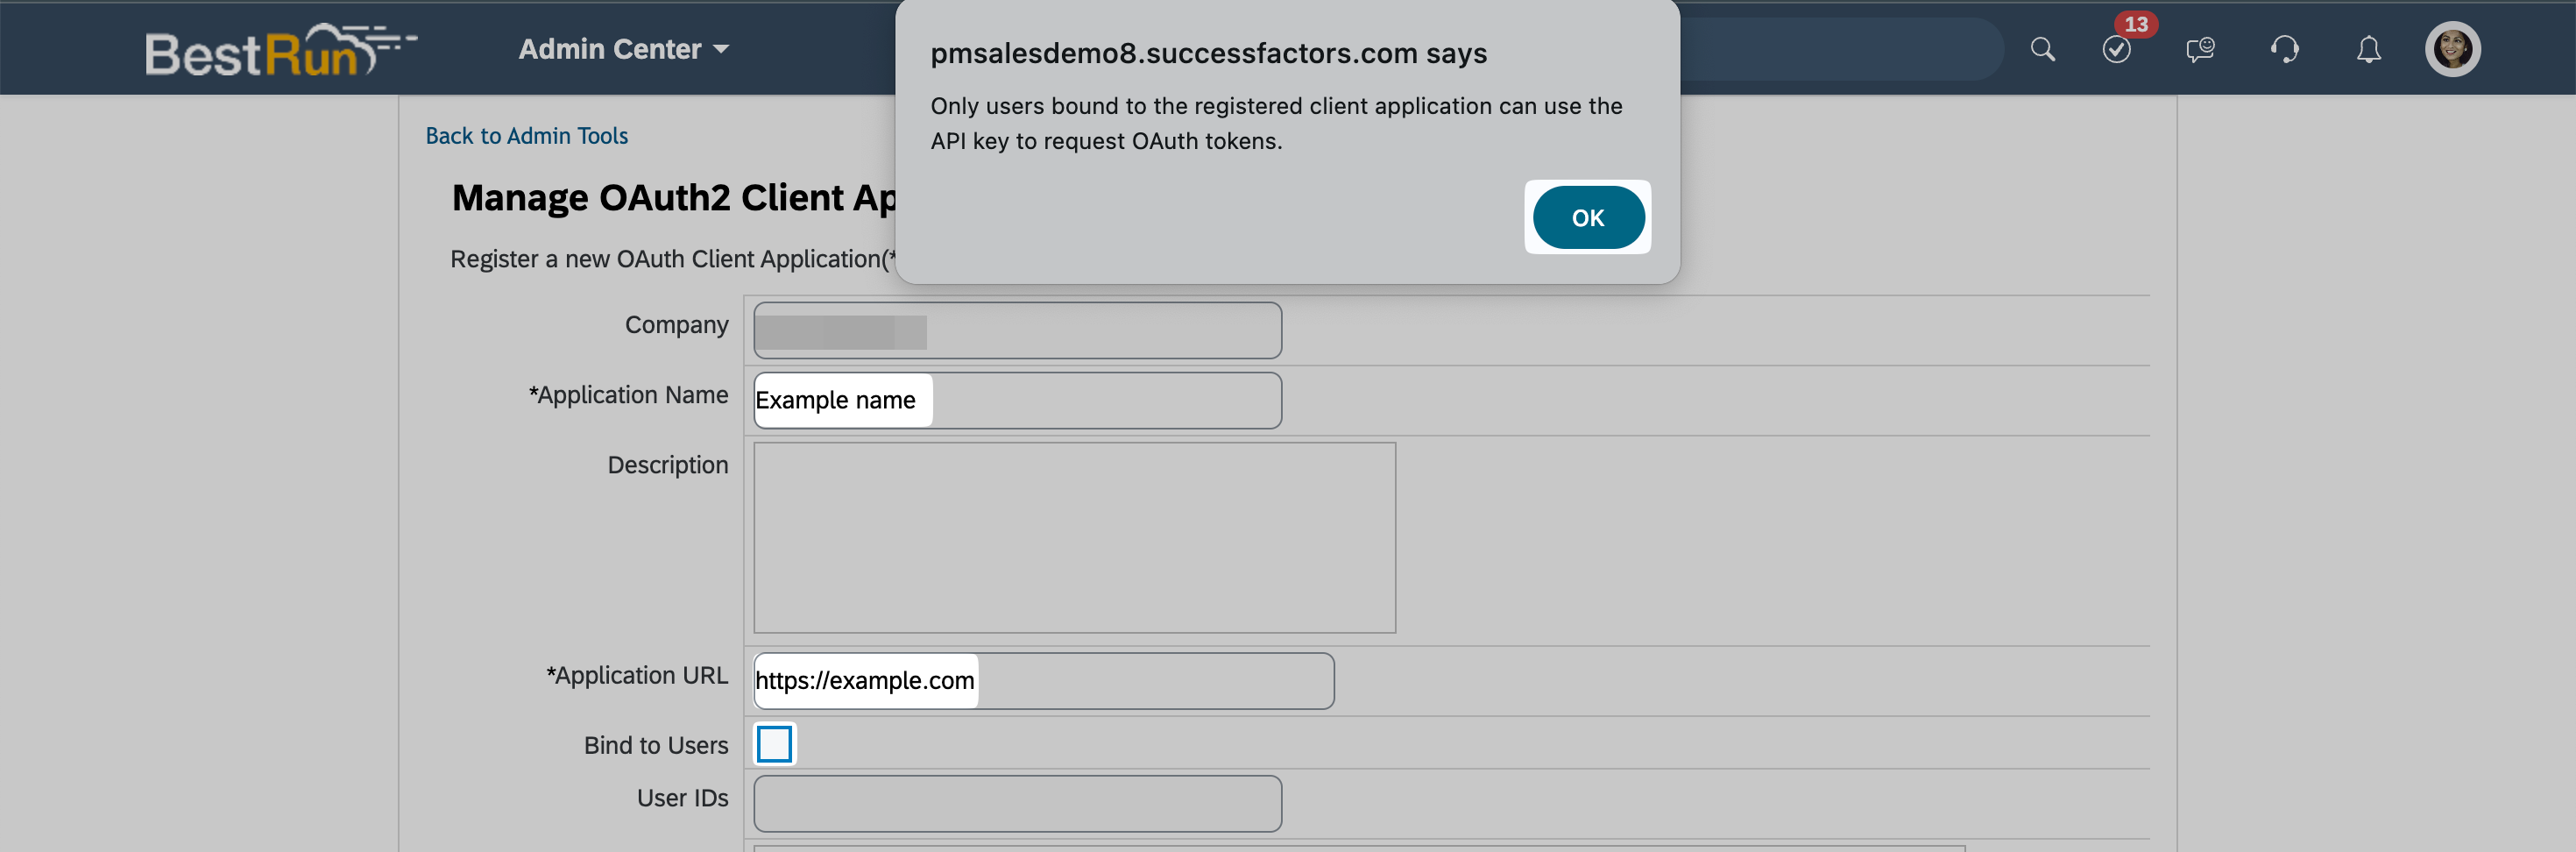
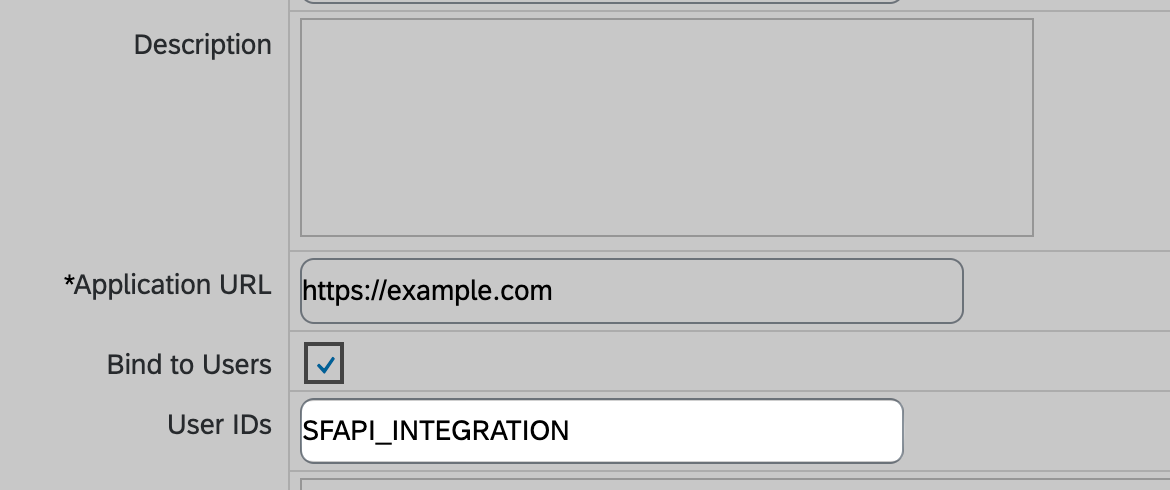
- In the new window enter a name and a valid URL (this can be literally any URL, you can enter any value you want - it should start with ) for the application, then click the “Bind to Users” checkbox and click “OK”
- Enter the USERID of the user that you created earlier
- Do not click “Generate X.509 Certificate” but instead, “C****opy” the certificate from the connection flow:
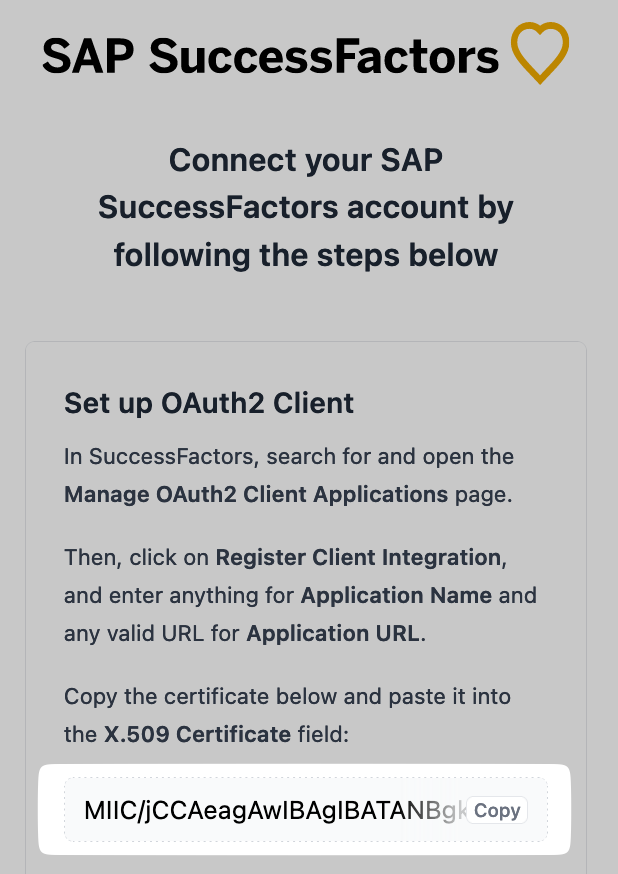
- Paste the certificate and click “Register”
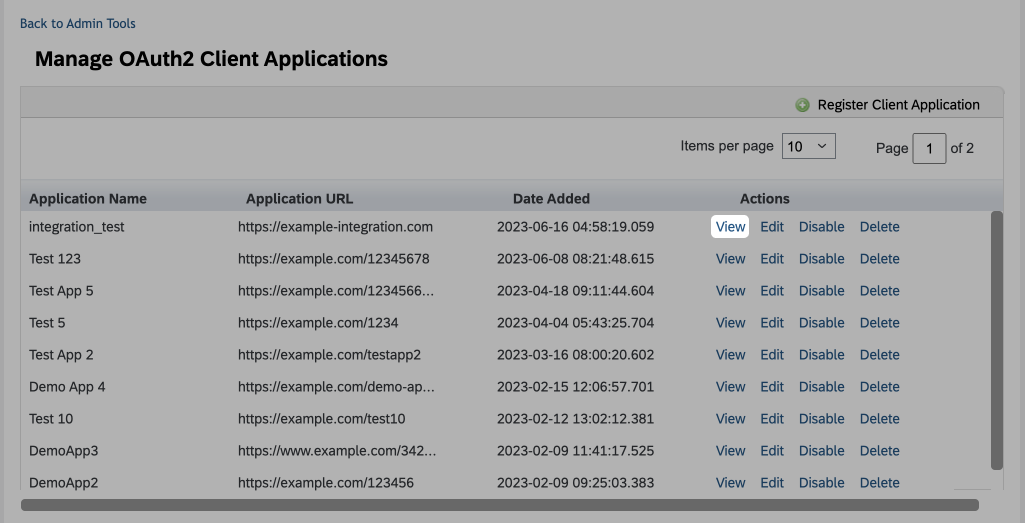
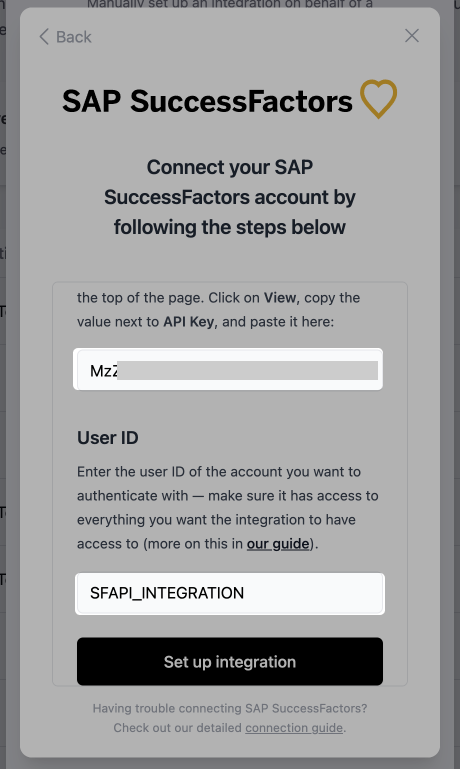
- Now click on “View” in the row at the very top
- Get the API key
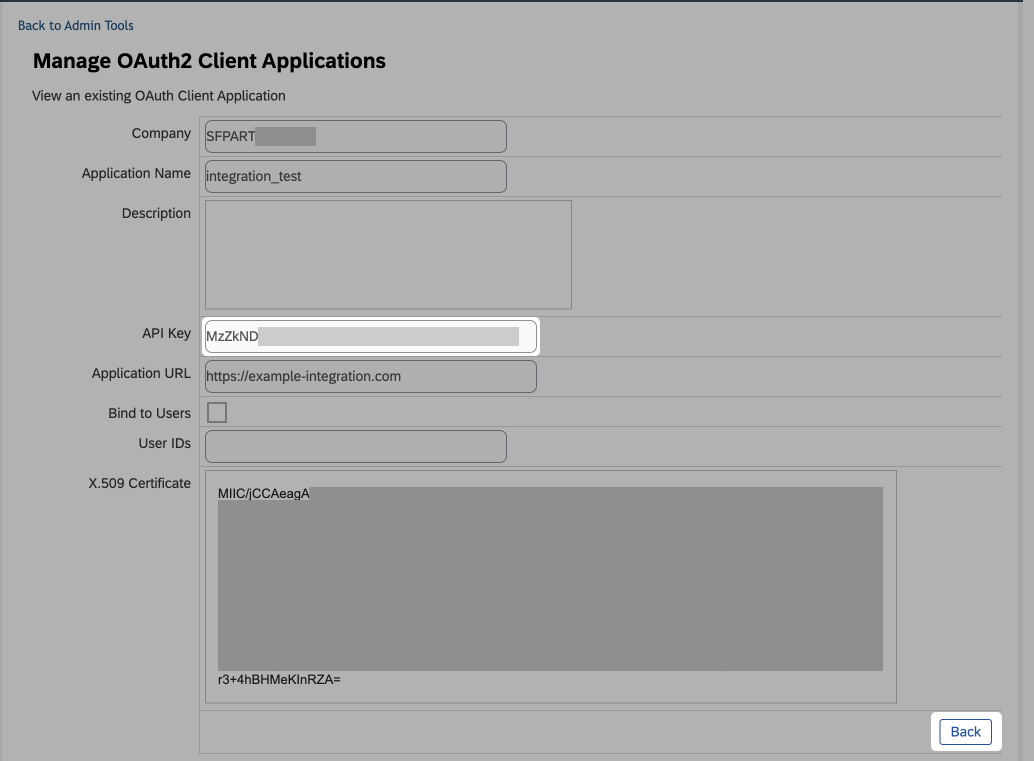
- Now paste the API key and the name of the API user into the connection flow
- Click on “Set up integration”

