
Microsoft Entra ID - SSO
Configure SAML 2.0 Single Sign-On (SSO) with Microsoft Entra ID for secure and seamless authentication to Wintro.
This guide walks you through configuring SAML 2.0 Single Sign-On (SSO) between Microsoft Entra ID (formerly Azure Active Directory) and Wintro. SSO allows your employees to access Wintro using their Microsoft corporate credentials, enhancing security and user experience.
Note: SSO is a paid feature available on select Wintro plans. If your plan doesn’t include SSO, please contact our sales team to upgrade.
Prerequisites
Before starting the SSO configuration, ensure you have:
- Admin access to your Microsoft Entra ID tenant
- Admin role in your Wintro organization
- A Wintro plan that includes SSO functionality
- Microsoft Entra ID Premium license (P1 or P2) for SAML-based SSO
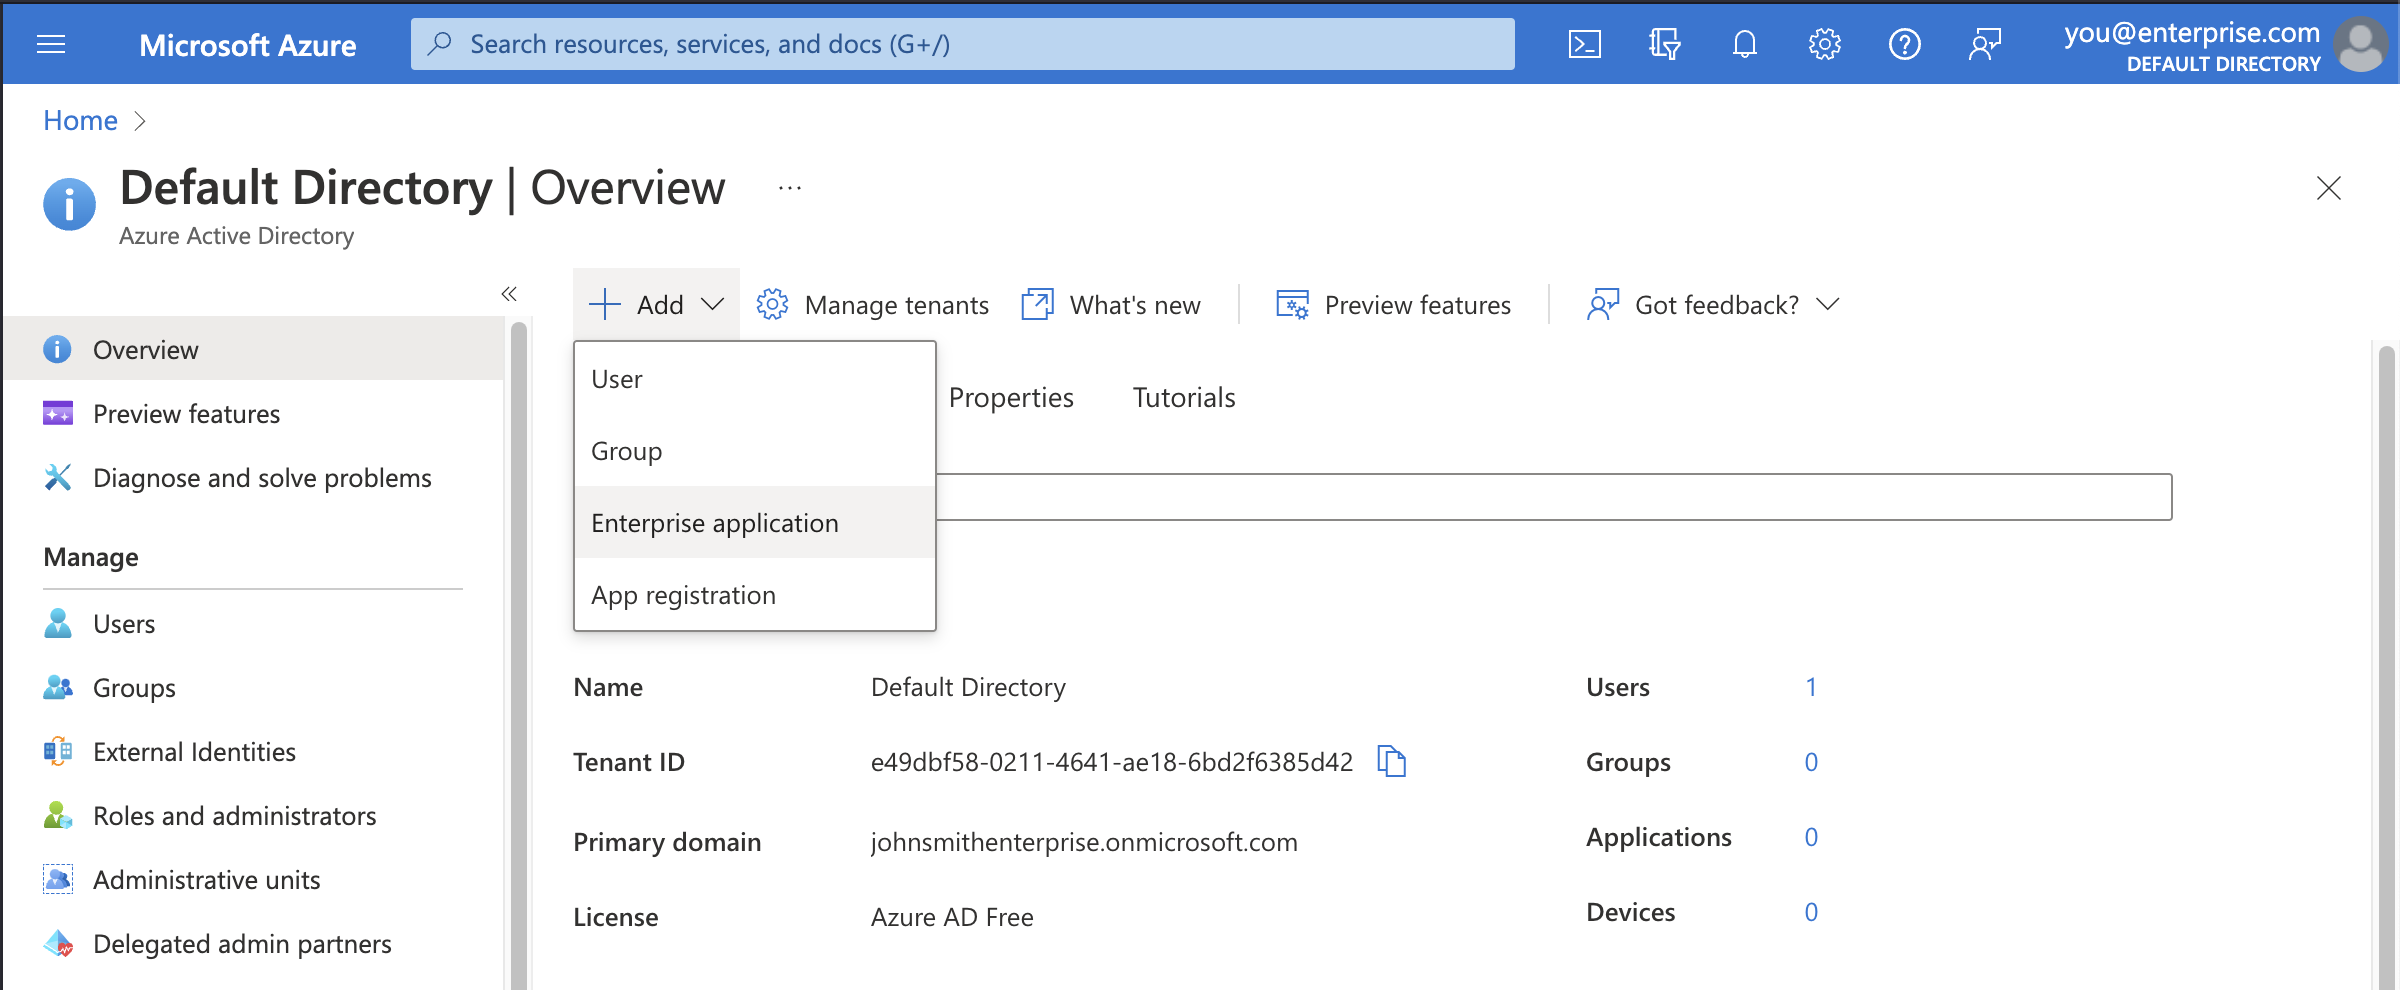
Step 1: Add Wintro to Enterprise Applications
- Sign in to the Microsoft Entra admin center
- Navigate to Identity > Applications > Enterprise applications
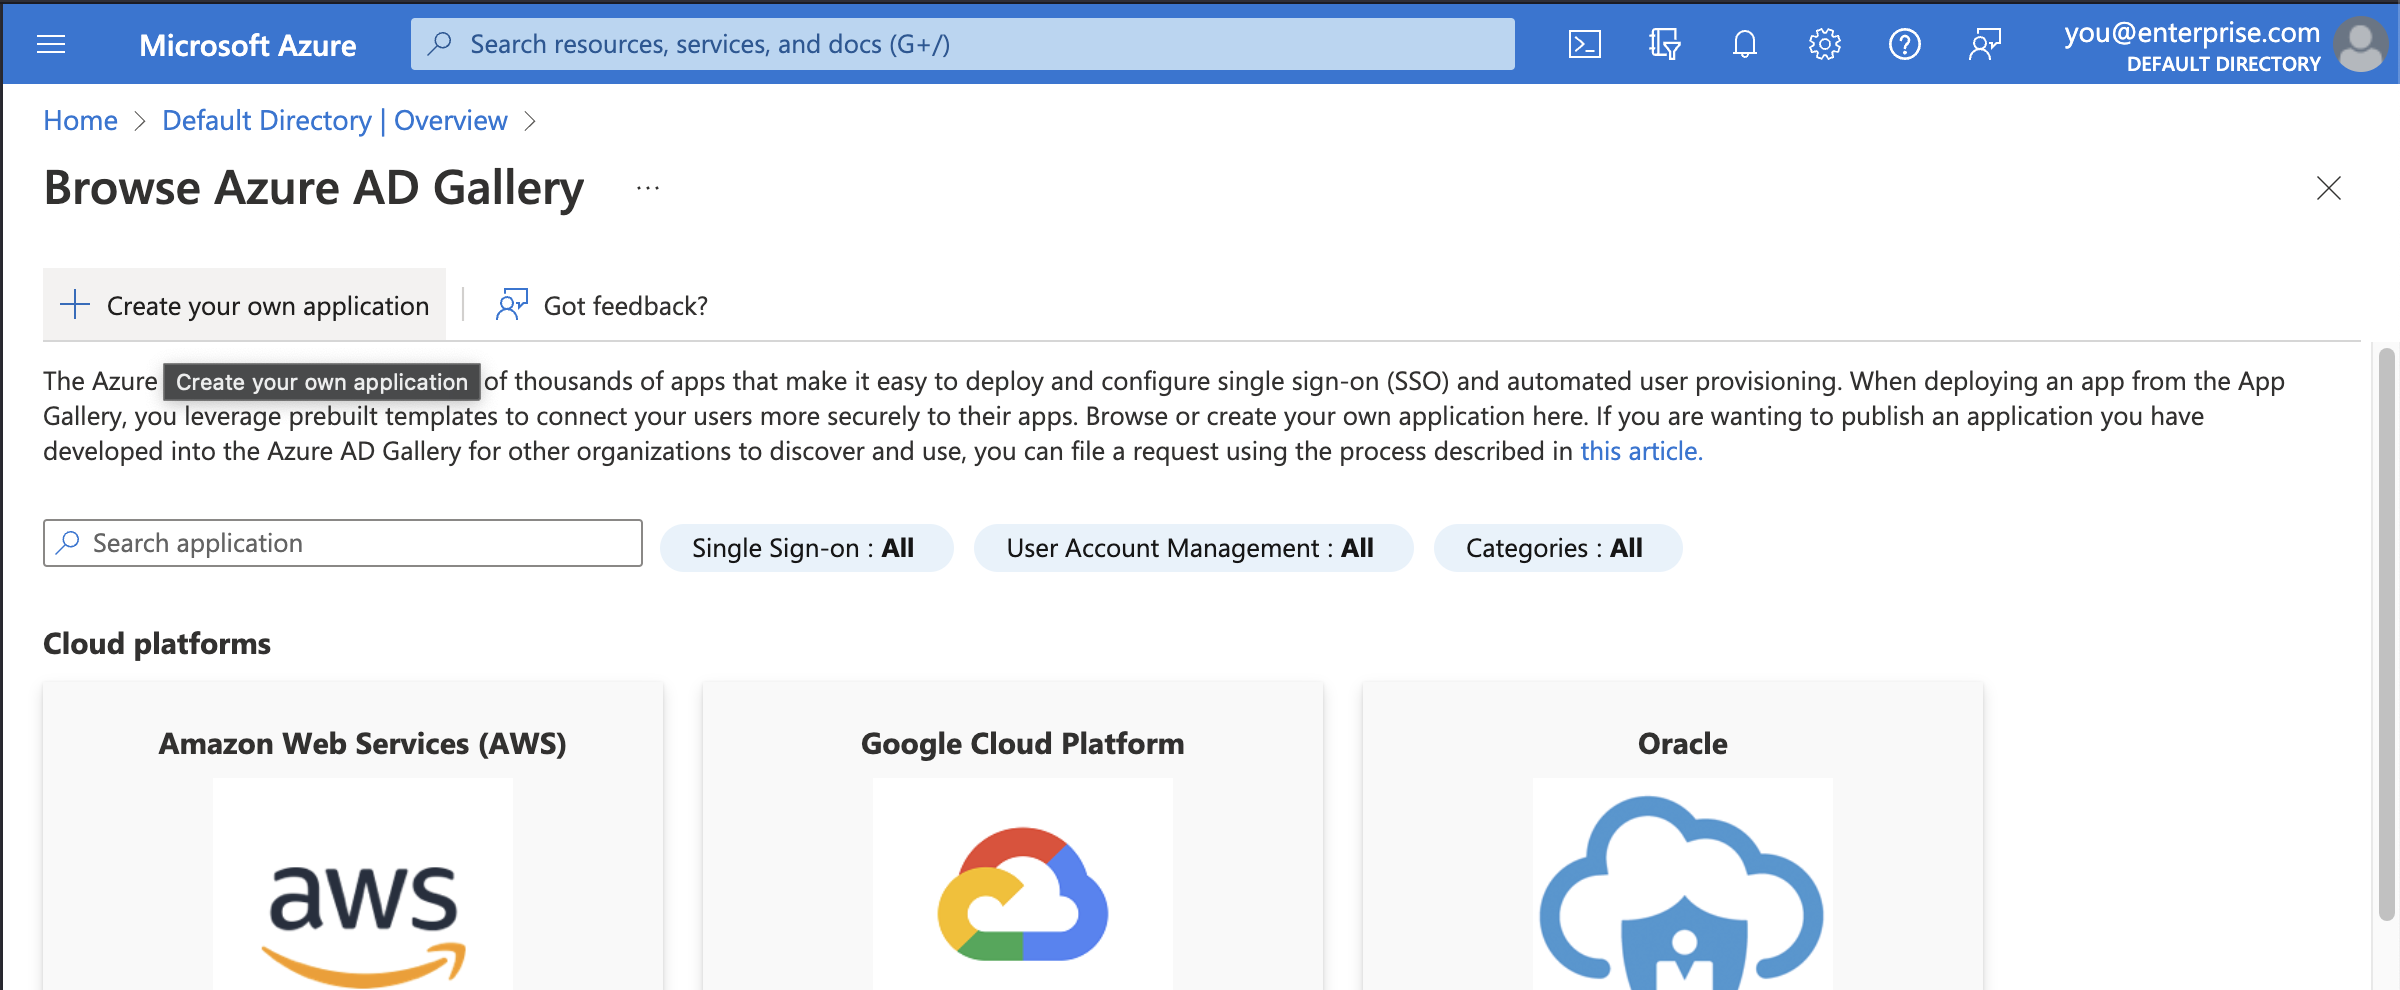
- Click + New application
- Select + Create your own application
- Enter “Wintro” as the application name
- Select Integrate any other application you don’t find in the gallery (Non-gallery)
- Click Create
Step 2: Configure SAML Single Sign-On
- In your newly created Wintro application, go to Single sign-on from the left menu
- Select SAML as the single sign-on method
- Click Edit in the Basic SAML Configuration section
Basic SAML Configuration
Configure the following settings with Wintro’s SAML 2.0 endpoints:
- Identifier (Entity ID):
https://oqwjnxpmowajlgwaoqcs.supabase.co/auth/v1/sso/saml/metadata - Reply URL (Assertion Consumer Service URL):
https://oqwjnxpmowajlgwaoqcs.supabase.co/auth/v1/sso/saml/acs - Sign on URL:
https://wintro.app/auth/login - Relay State:
https://oqwjnxpmowajlgwaoqcs.supabase.co(Optional but recommended) - Logout URL: (Leave blank)

Click Save after entering all URLs.
Step 3: Configure User Attributes & Claims
- In the Attributes & Claims section, click Edit
- Ensure the following claims are configured:
| Claim Name | Source Attribute |
|---|---|
| Unique User Identifier (Name ID) | user.userprincipalname |
| http://schemas.xmlsoap.org/ws/2005/05/identity/claims/emailaddress | user.mail |
| http://schemas.xmlsoap.org/ws/2005/05/identity/claims/givenname | user.givenname |
| http://schemas.xmlsoap.org/ws/2005/05/identity/claims/surname | user.surname |
| http://schemas.xmlsoap.org/ws/2005/05/identity/claims/name | user.displayname |
Important: The claim names must include the full namespace URI as shown above. The overview page in Entra ID displays shortened names (e.g., “emailaddress”), but click Edit on each claim to verify the full URI is set correctly. Using short names without the namespace will cause authentication to fail.
- To add or edit a claim:
- Click + Add new claim
- Enter the claim name exactly as shown in the table above (including the full
http://schemas.xmlsoap.org/...URI) - Do not leave the namespace blank - use
http://schemas.xmlsoap.org/ws/2005/05/identity/claims - Select Attribute as the source
- Choose the appropriate source attribute
- Click Save
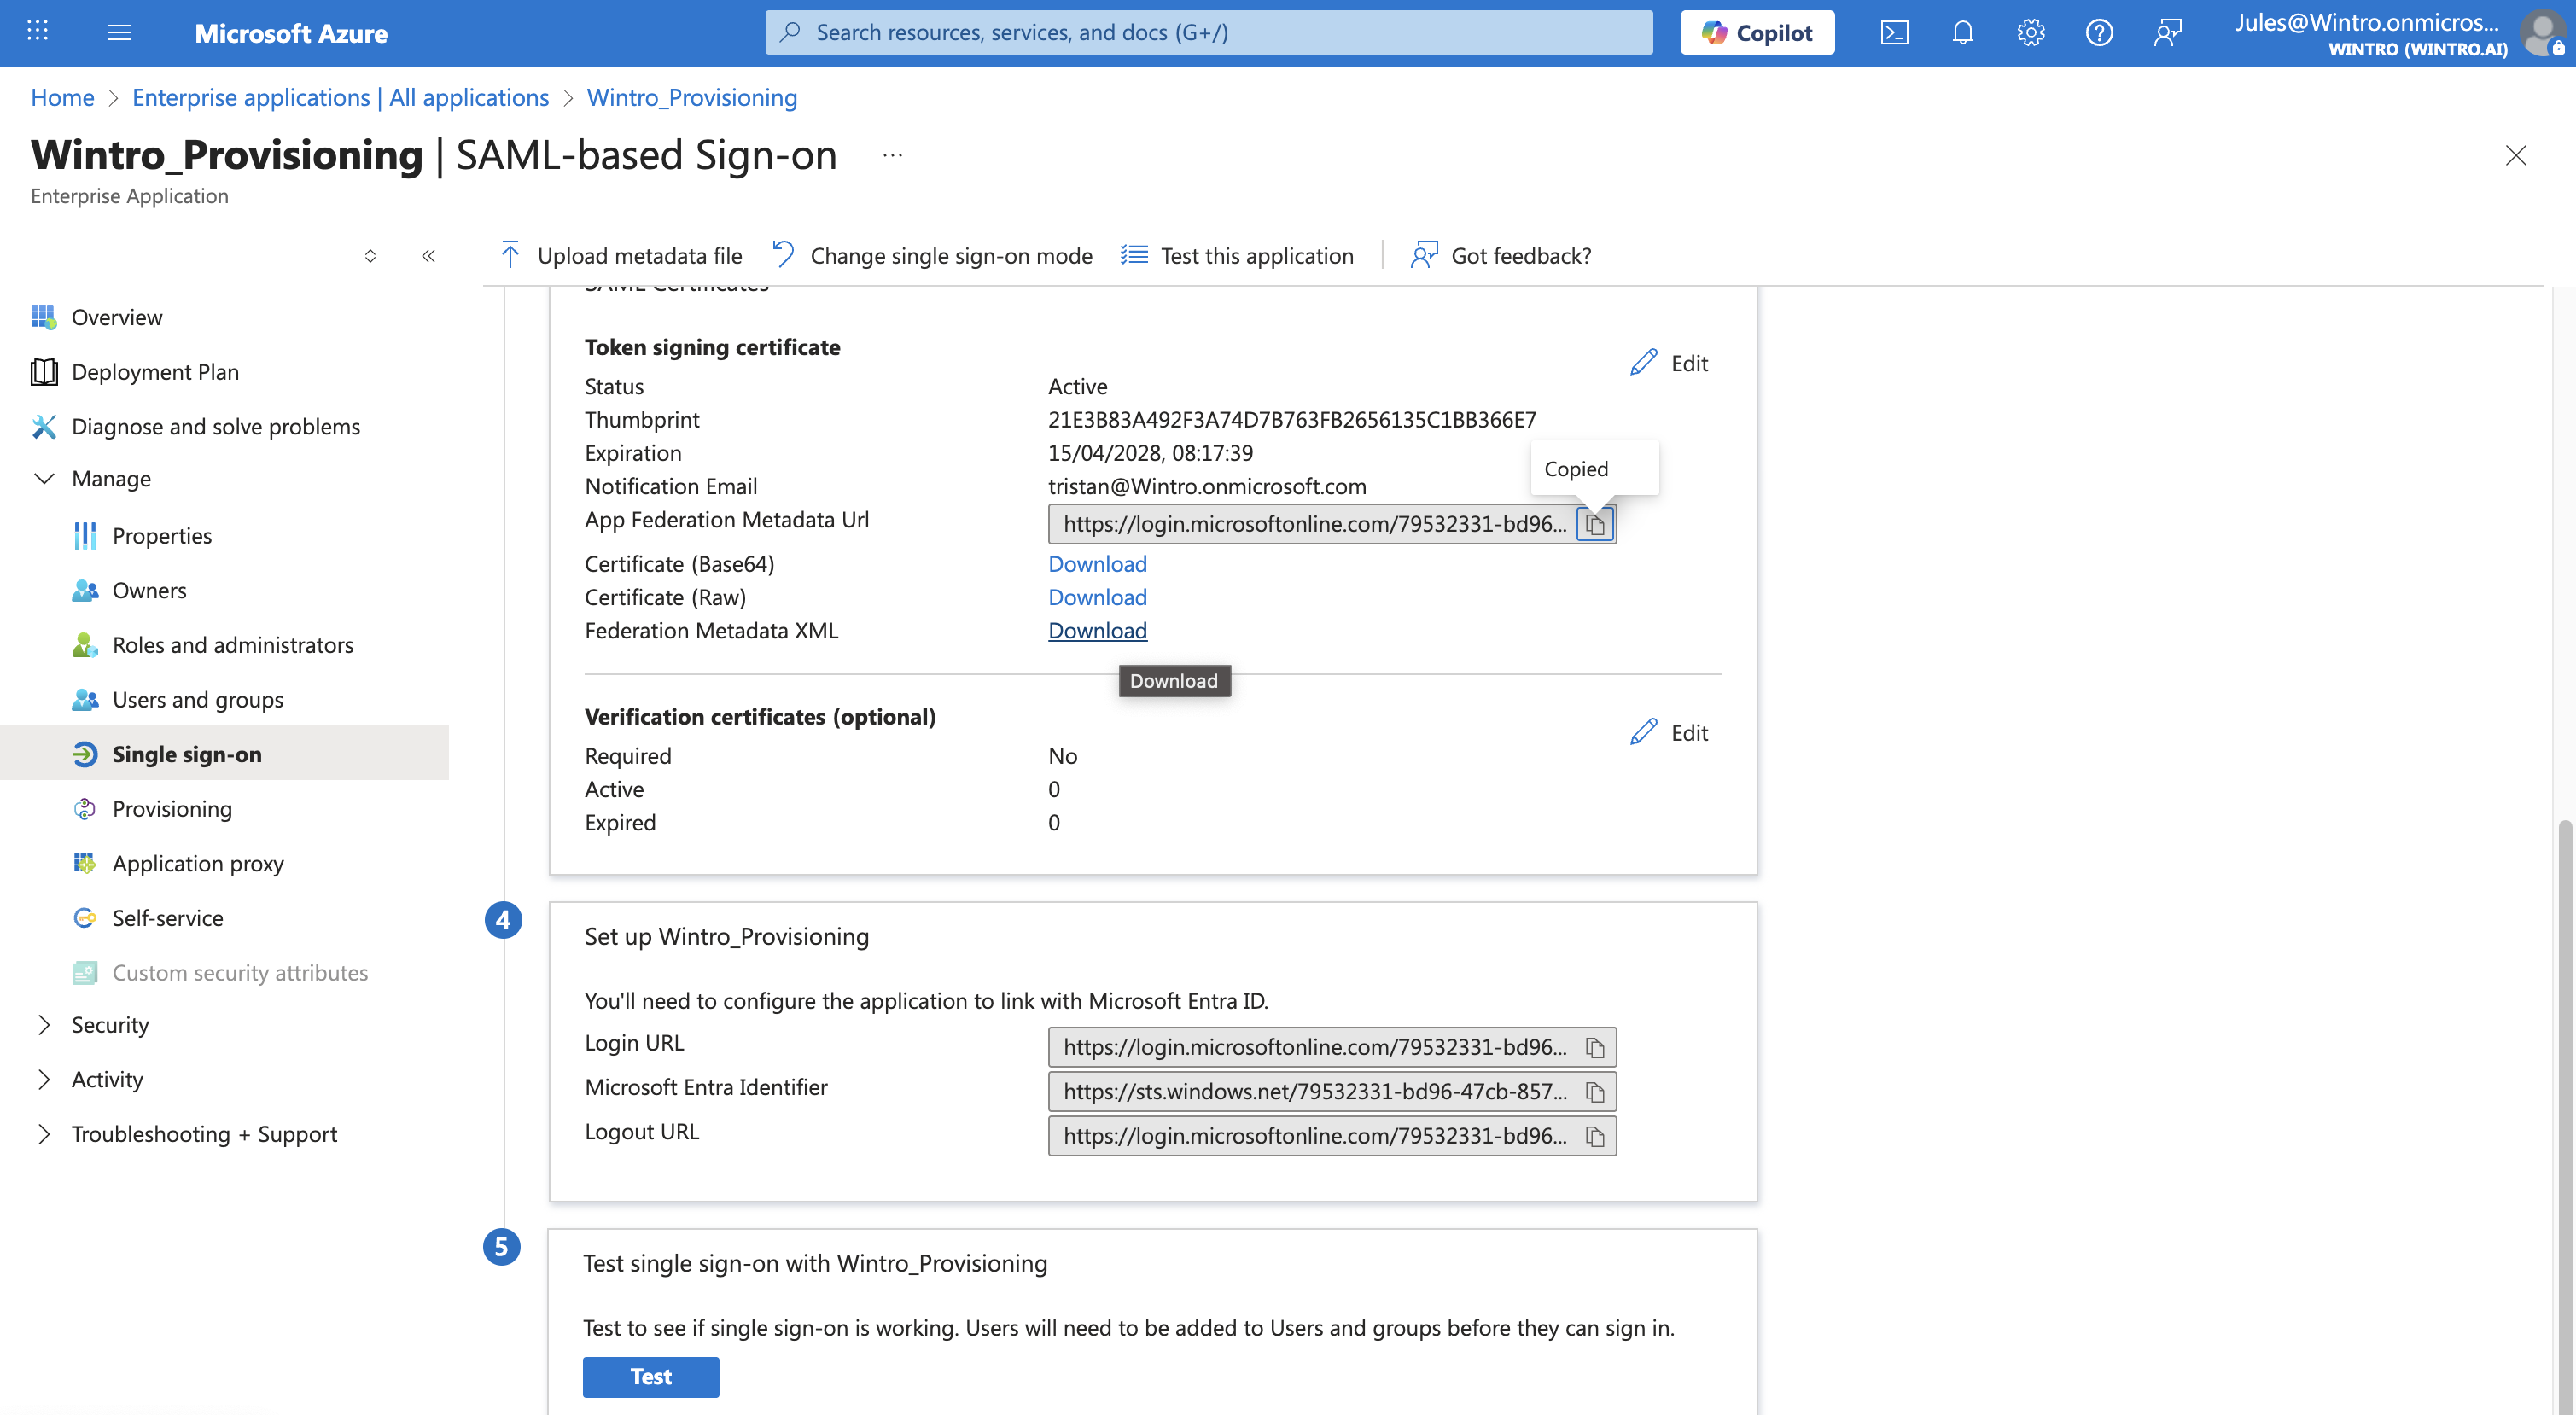
Step 4: Download Federation Metadata
- In the SAML Certificates section, locate Federation Metadata XML
- Click Download to save the metadata file
- Alternatively, copy the App Federation Metadata URL to share with Wintro support
Step 5: Configure SSO in Wintro
After configuring your Microsoft Entra ID application, complete the SSO setup in Wintro.
If you have a Wintro Admin account:
- Log in to Wintro as an Admin
- Navigate to Settings > Organization tab
- Scroll to the Single Sign-On (SSO) section
- Click Add SSO and choose one of two options:
- URL: Paste the App Federation Metadata URL from Microsoft Entra ID
- File: Upload the Federation Metadata XML file you downloaded
- Select which email domains should use SSO authentication
- Click Save to complete the configuration
Tip: Make sure you’ve already added your email domains in the Email Domains section before configuring SSO. Only domains registered in Wintro can be associated with SSO.
If you don’t have a Wintro account yet:
Send one of the following to support@wintro.ai and we’ll configure SSO on your behalf:
- The App Federation Metadata URL from Microsoft Entra ID, or
- The Federation Metadata XML file you downloaded
Step 6: Assign Users and Groups
Back in the Microsoft Entra admin center:
- Go to your Wintro application
- Select Users and groups from the left menu
- Click + Add user/group
- Select the users or groups who should have access to Wintro
- Click Assign
Best Practice: Create a dedicated security group (e.g., “Wintro Users”) and assign it to the application for easier management.
Step 7: Test the SSO Connection
After completing the SSO configuration in both Microsoft Entra ID and Wintro:
Test from Microsoft Entra ID:
- In the Wintro application, go to Single sign-on
- Scroll to the Test single sign-on with Wintro section
- Click Test
- Select Sign in as current user or test with a specific user
- Verify successful authentication
Test from Wintro:
- Open a new incognito/private browser window
- Navigate to
https://wintro.app/auth/login - Click Sign in with SSO
- Enter your company email address
- You should be redirected to Microsoft login
- After authentication, you should be logged into Wintro
IdP-Initiated Login (Optional):
- Navigate to myapps.microsoft.com
- Find and click the Wintro application tile
- You should be automatically logged into Wintro
Step 8: Roll Out to Your Organization
Once testing is successful, you can configure additional settings in Wintro:
- Configure Login Methods - In Settings > Organization, choose which login methods are available to users (SSO, OAuth, Magic Link)
- Set up SCIM provisioning - Consider setting up SCIM user provisioning for automatic account management
- Communicate to employees - Inform your team about the new SSO login option
Troubleshooting
Common Issues and Solutions
“Invalid SAML Response” Error
- Verify the Reply URL in Entra ID matches exactly:
https://oqwjnxpmowajlgwaoqcs.supabase.co/auth/v1/sso/saml/acs - Ensure you’ve uploaded the correct metadata file or URL in Wintro Settings
- Check that the Name ID format is set to user.userprincipalname
“User Not Found” Error
- Confirm the email claim is properly mapped to user.mail
- Check that the user’s email in Entra ID matches their email in Wintro
- Consider setting up SCIM provisioning to automatically create users
“Access Denied” After Successful Authentication
- Verify the user is assigned to the Wintro application in Entra ID
- Check that the user has an active Wintro license
- If using SCIM, verify user provisioning completed successfully
Users Can’t Find SSO Login Option
- Ensure SSO is enabled in Wintro authentication settings
- Verify the correct domain is configured for SSO
- Check that users are entering their full email address
Getting Help
If you encounter issues not covered in this guide:
- Review the sign-in logs in Microsoft Entra ID for authentication failures
- Check browser console for any error messages
- Contact Wintro support (support@wintro.ai) with:
- Your company domain
- Screenshot of the error message
- Time and date of the failed attempt
- User email that experienced the issue
Security Considerations
- Certificate Rotation: Microsoft Entra ID certificates expire every 3 years. When rotation is needed, update the metadata in Wintro Settings > Organization
- Conditional Access: Consider implementing Conditional Access policies in Entra ID for additional security (MFA, device compliance, location restrictions)
- Regular Audits: Review SSO access logs monthly and remove access for terminated employees promptly
- Backup Authentication: Keep Magic Link enabled as a fallback authentication method for emergency access
Next Steps
After successfully configuring SSO:
- Consider setting up SCIM provisioning for automated user management
- Configure Microsoft Teams integration for seamless collaboration
- Review and adjust session management settings for optimal security and user experience
- Train your IT helpdesk on the new SSO login process
Important URLs Reference
For your reference, here are the Wintro SAML 2.0 endpoints:
- ACS URL:
https://oqwjnxpmowajlgwaoqcs.supabase.co/auth/v1/sso/saml/acs - Metadata URL:
https://oqwjnxpmowajlgwaoqcs.supabase.co/auth/v1/sso/saml/metadata - Relay State URL:
https://oqwjnxpmowajlgwaoqcs.supabase.co - Sign-on URL:
https://wintro.app/auth/login
With SSO configured, your employees can now access Wintro securely using their Microsoft credentials, eliminating password fatigue and enhancing your organization’s security posture.

